 If you’re like me, when the first warm days of spring arrive, you can’t wait to get out into the garden and start planting. It means winter is finally over and the gardening season has begun. You’ve been looking at seed catalogs for months and have plenty of ideas you’re just waiting to try. However, before you plant anything you need to get the soil ready.
Don’t be intimidated
This can be quite a bit of physical work, but luckily it is pretty straightforward and doesn’t take a lot of explanation. It helps to do it methodically though, so I’ll go through the steps here. And, while it may feel overwhelming to considering tackling a large garden space, keep in mind you don’t need to do the bed preparation for your entire garden at one time. You can easily do each bed as you need the space for planting, and leave the rest for another time. Start small to keep it manageable.
When to start
Just because it is a beautiful day doesn’t mean you can just go out into the garden and get to work on the beds. I know it’s tempting, especially after a long, wet winter, but digging very wet soil can damage its structure and cause long-term harm (not to mention being harder to dig).
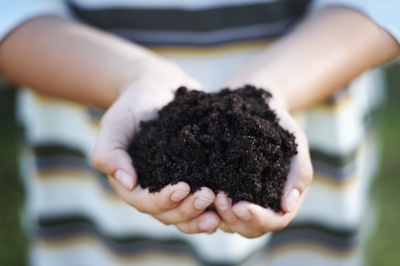
To determine whether your soil has the right moisture content, you can do a rough check by lightly squeezing a handful of soil into a ball and dropping it from approximately waist height. If it doesn’t break up when it hits the ground it is probably too wet to dig (you have to take into account that a sandy soil breaks up more easily than a clay one).
 Another indicator of excessive wetness is when you walk on the soil and leave shiny footprints where water was squeezed from the soil. If your garden tends to stay wet every spring, it helps to use raised beds, as they drain and warm up faster than flat areas.
One very wet spring I was so desperate to get outside and get planting I covered some of my raised beds with plastic sheet to prevent them absorbing any more rain. This actually worked quite well, though such extremes aren’t usually necessary.
Clearing the space
If the soil is dry enough to work, you can start bed preparation by removing all of the surface vegetation. If there are only a few weeds or dead crops, it only takes a few minutes to loosen them with a fork and pull them out. If you have been growing a cover crop over the winter, removing it is a much bigger job. The quickest and easiest way to do this is to skim off the above ground parts with a sharp flat spade and compost them (cut right down at soil level, to sever the top growth but leave the roots in the soil). You could also dig the cover crop into the soil, but it will need a couple of weeks to break down before you can plant into it. This means you will have to prepare beds a couple of weeks before you intend to plant.
 Amending the Soil
Now that you have your garden bed cleared, it’s the perfect time to add any soil amendments you need. Typically, I add a couple of inches of compost and some standard fertilizer mix. If you know your soil’s pH balance if off, this is also a good time to add some ground limestone for acidic soil, or some pine sawdust for alkaline soils.
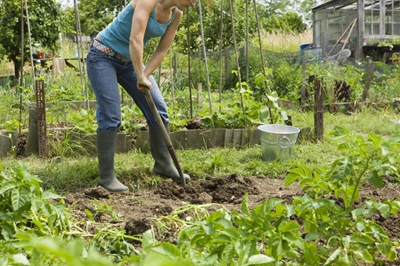
These are simply scattered on to the soil surface and then incorporated into the soil. If the soil is already in good shape, you can simply dig them into the top few inches of soil with a fork. If it isn’t so good then single digging works better. If the soil is very poor or compacted you may have to resort to double digging (usually you only need to do this once though).
Once you have your amendments thoroughly incorporated, all that remains is to break up any large soil clods with a fork and then shape the bed with a rake. It is then ready for sowing or planting and your garden season has officially begun.


