-
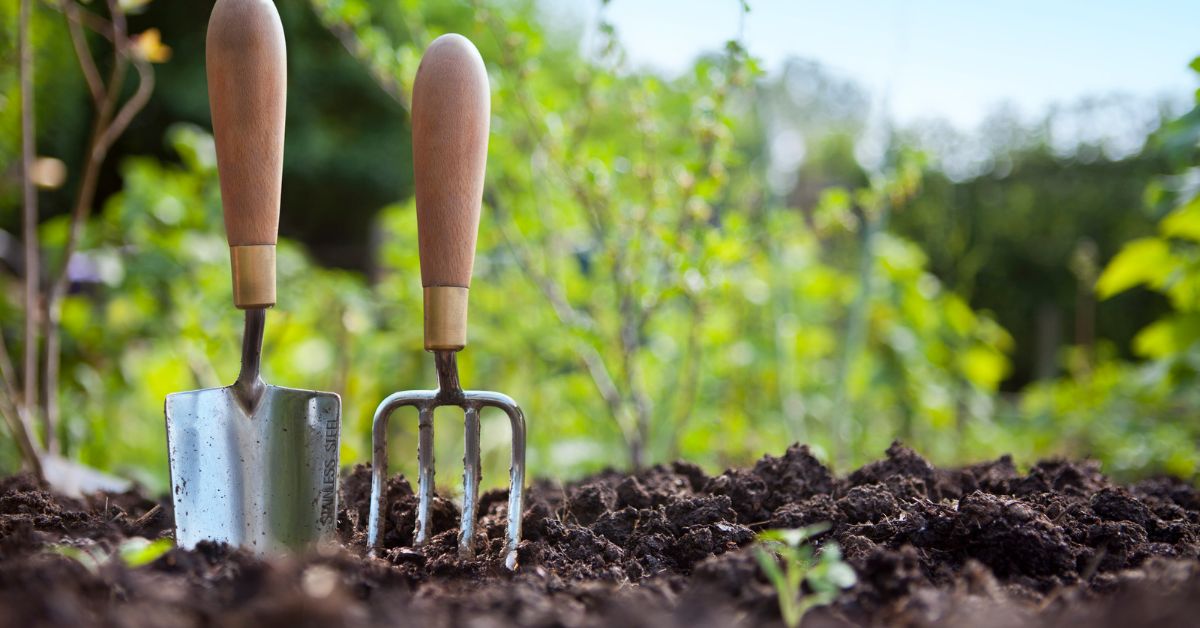
How to Save Money Gardening
There are many great reasons to start a garden, but one of the most common is to save money on food costs. Unfortunately a lot of first time gardeners quickly become overwhelmed with the initial costs of gardening — building raised bed, filling them with soil, buying all the pots and tools, and then buying […]
-
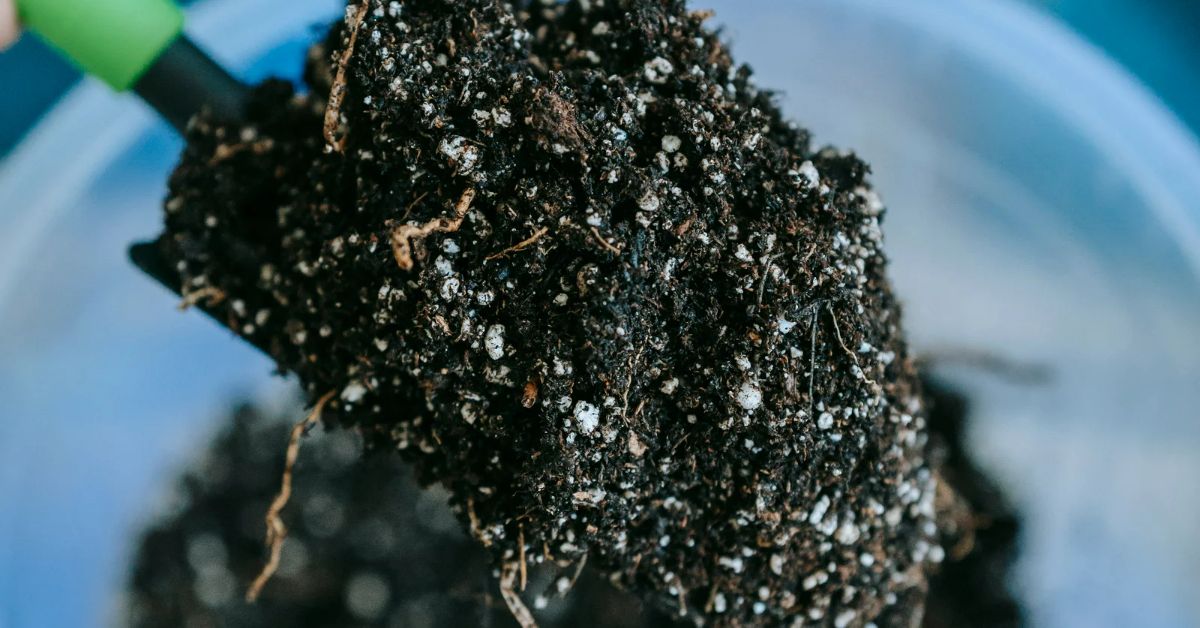
How to Make Your Own Potting Soil
Making your own potting soil is easy and can save you a ton of money! Here are several of our favorite recipes for you to help you get started with your spring planting! Despite having soil in its name, potting soil is actually a soil-less mixture crafted for growing plants in pots. Also referred to […]
-
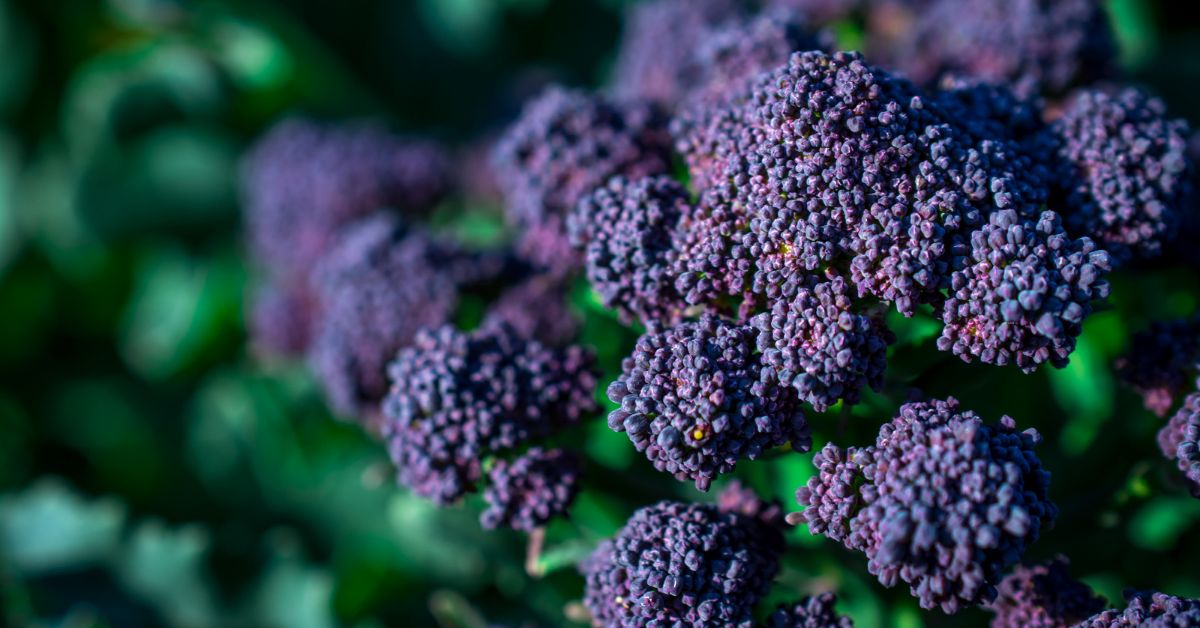
Smart Tips for Growing Broccoli
Broccoli is a wonderful vegetable to grow in your garden. It’s hard to beat the tender sweetness of a head of broccoli cooked just minutes after being harvested. It’s one of the easiest plants to put in for an early spring garden, and does well as a late season crop. It grows quickly, doesn’t require […]
-

Gardening is Good for the Environment
We already know gardens are good for our health: growing your healthy food, spending time in nature, and getting some exercise, to name just a few benefits. But did you know gardening is good for the environment? We’ve come up with eight great reasons to plant a garden for the environment: Gardens improve air quality. […]
-
Two Methods For Testing Seed Viability
For this post in our Ask a Gardener series, Allan N. has asked us about testing seed viability: Q. I have a bunch of old seeds from years ago. Can I use them in my garden this year? How do I know if they’re still good? A. Great question! As gardeners across the country are […]
-
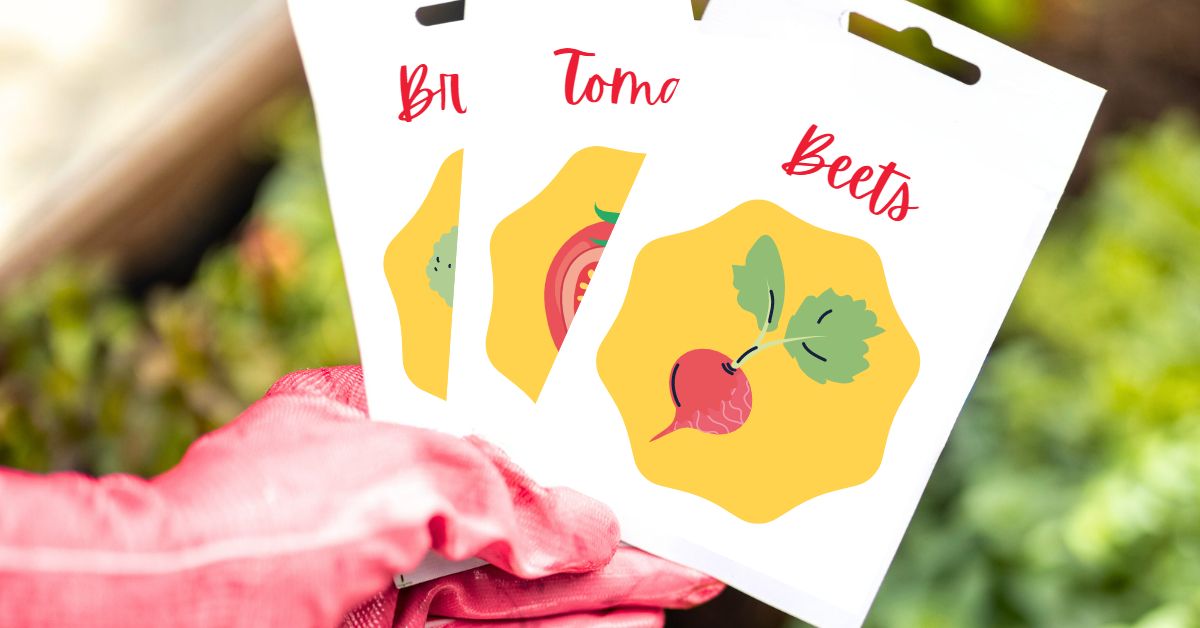
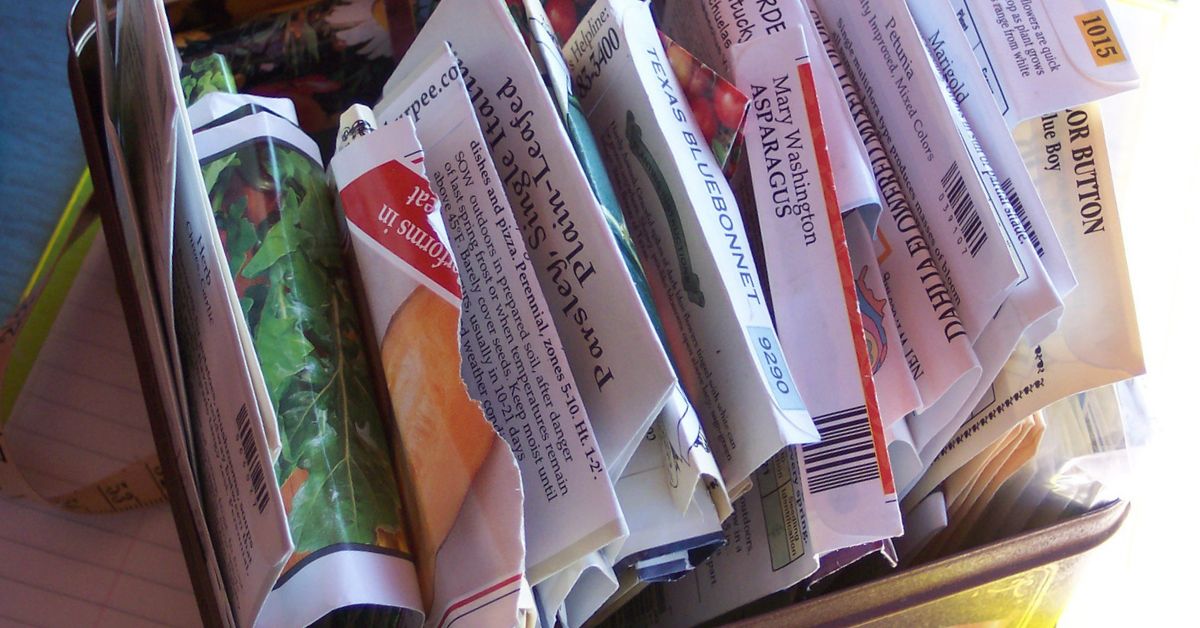
Smart Tips for Buying Seeds for Your Garden
Buying seeds is one of the most exciting parts of planning a new garden. It can also be one of the most confusing for new gardeners. Here are some tips to help you figure out what seeds to buy, when to buy them, and how many you’ll need. WHAT SEEDS TO BUY Often new gardeners […]
-
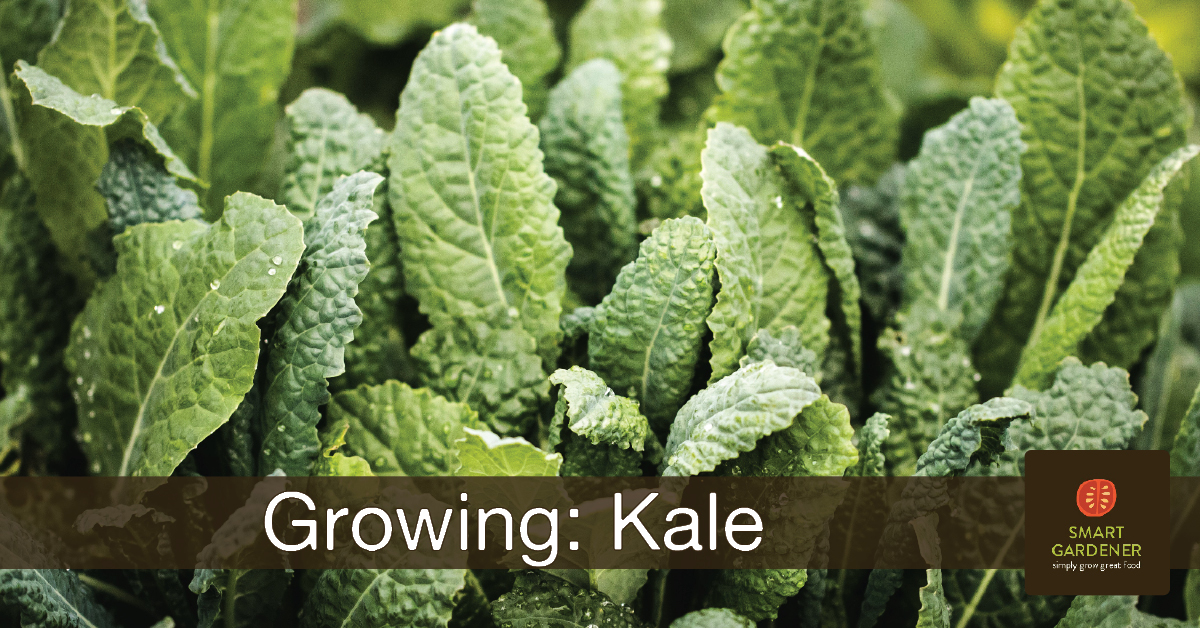
Smart Tips for Growing Kale
Kale is a hearty, nutritious plant that is easy to grow and perfect for every garden. There’s a reason kale is so popular with the health food crowd: It’s chock full of nutrients. Whether you’re putting it in smoothies, making chips, cooking it in stews or massaging it salads, the uses for kale are nearly […]
-
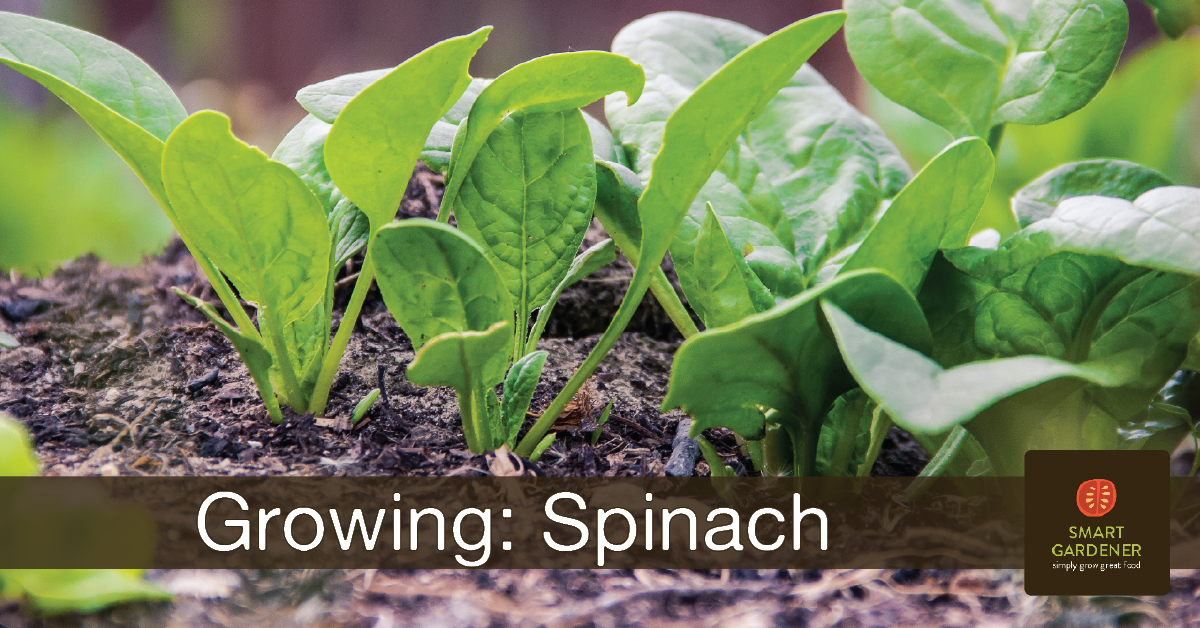
Tips for Growing Spinach
Spinach is an easy and fast plant to grow for garden-fresh salads. Other greens may get all the attention, but spinach is more than just a cartoon gimmick. It’s full of iron and calcium, as well as a wealth of antioxidants. And it’s super easy to grow! Below we have some tips for growing spinach […]
-
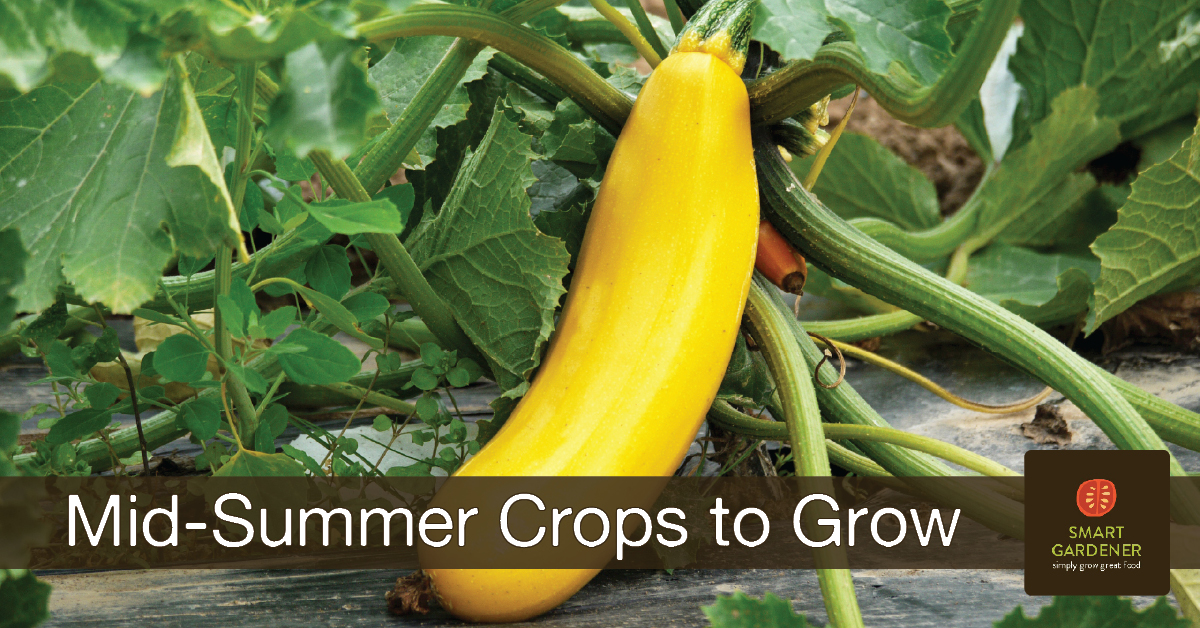
What Can I Grow Now?
What can I grow now? It’s not too late to plant a garden this summer. There are several vegetables you can plant today and harvest before the first frosts!
-
The best way to water your vegetable garden
Looking for the best way to water your vegetable garden? Climates may differ, but the essentials of how to properly water a garden are the same everywhere. There are four key things to keep in mind to keep your garden thriving all summer long.
About Smart Gardener
An online vegetable garden planner for anyone who wants homegrown, healthy and tasty food to be part of their lifestyle…while having a busy life.
How it works
There are a lot of variables that go into planning a garden. Smart Gardener does all the hard work for you. We collect, calculate and create a smart personal profile of your garden just for you. Learn more about your profile.
- Contact us
- support@smartgardener.com
Follow us