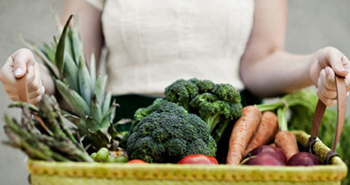
Tag: crop protection
-
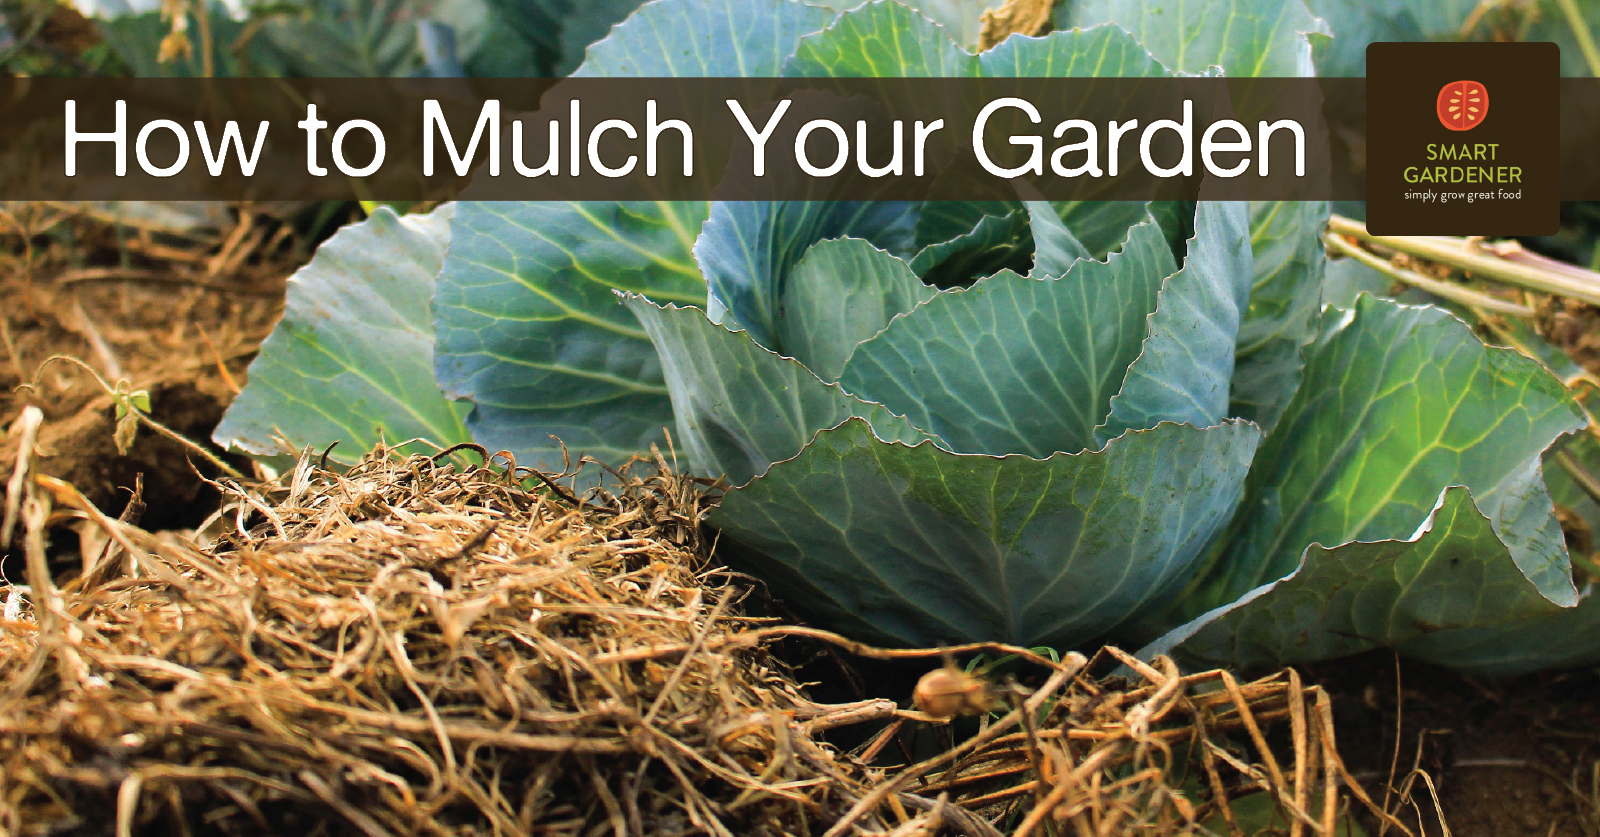
How to apply mulch to a vegetable garden
Mulch is an indispensable part of the vegetable garden, with a multitude of benefits. We’ve got tips to help you know how much to add and when to add it.
-

Extending Your Summer Garden Growing Season
Extending your summer garden growing season is surprisingly easy. With a little planning you can continue to harvest tender plants like lettuces and tomatoes for several weeks, and maybe longer.
-
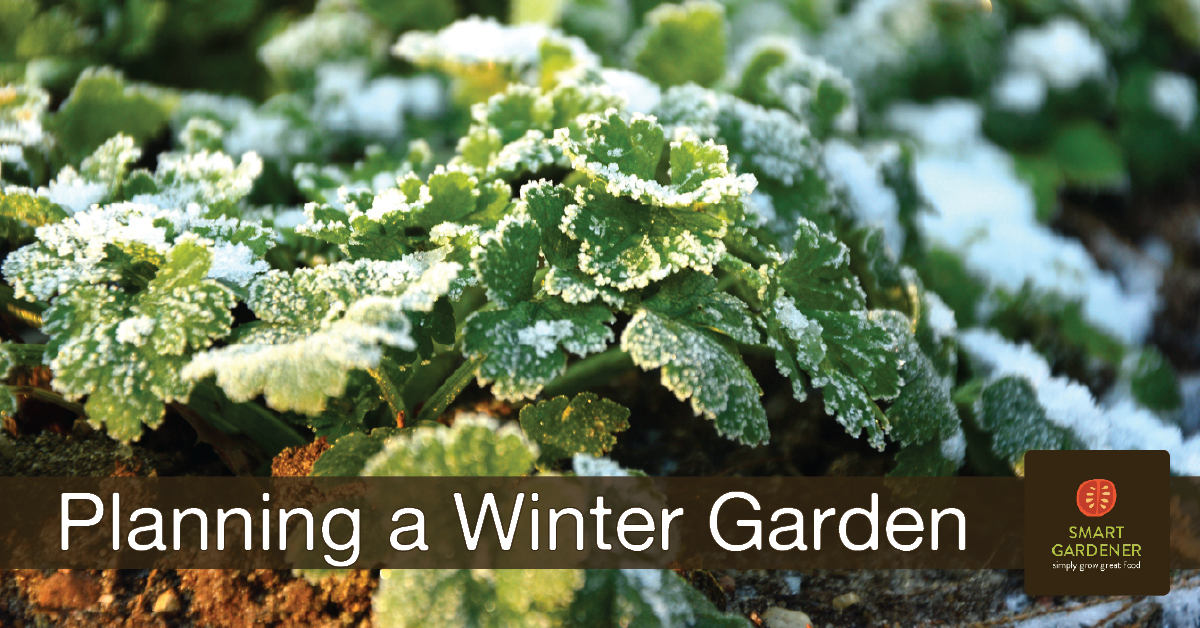
Planning a Winter Vegetable Garden
Planning a winter vegetable garden is surprisingly easy. Follow these tips to keep growing your own vegetables once the summer crops are done.