Planning a winter vegetable garden is surprisingly easy. Follow these tips to keep growing your own vegetables once the summer crops are done.

Planning a Winter Vegetable Garden

As the days grow shorter and the temperatures start to drop, many gardeners move indoors for the winter. But for those of us who live in a mild climate where we can grow late fall and winter crops, we can keep right on growing as long as we pick the right crops, get them in the ground early enough and provide them with the proper protection. Follow these tips to start planning a winter vegetable garden to keep growing once the summer crops are done.

What to Grow

Some cool weather crops are much better suited to growing in fall than in spring. Often by the time it’s warm enough for plants to mature in spring, longer days will cause short-day crops (spinach and oriental cabbage) to bolt. The warm temperatures adversely affect their flavor as well.

But if you plant these crops in late summer, they’ll get a good kickstart in the warmth of a late-summer sun, and then mature more slowly in the shorter, colder days that follow.

Planning a Winter Garden image close up of a broccoli head and green leavesWhen planning a winter vegetable garden, these tried and true hardy crops are your best bet:

•    Broccoli
•    Brussels Sprouts
•    Cabbage
•    Carrot
•    Cauliflower
•    Chard
•    Horseradish
•    Jerusalem Artichoke
•    Kale
•    Leek
•    Mâche
•    Mustard Greens
•    Parsnip
•    Turnips

Even within these crops, it is important to use the right variety at this time of year, as hardiness can vary considerably. Fortunately, for every plant in the Smart Gardener database we’ve included a ‘Growing Conditions’ tag in the plant profile so you can easily see what each plants needs—cold, cool, warm or hot weather. For fall and winter crops, you want to look for plants that can tolerate cold weather.

When to Plant

Fall and mild winter crops commonly take longer to mature because the sun is weaker and the days are shorter. The best way to determine the right time to plant a fall crop is to figure out the number of days it takes for it to reach maturation (adding extra days to allow for slower growth in fall). Determine the day you want them to mature (in areas with frost, this is normally just before the weather turns too cold for good growth). Subtract the number of growing days from the maturation date and you have the sowing date.

It’s a good idea to plant a few successions at this time to make sure you get at least one crop before the frosts and possibly more if the frost is later than expected. If you rarely have frosts, you may be able to continue growing these crops through the winter.

planning a winter vegetable garden image of a cabbage plant with frost on the leavesWhere to Plant

Beds for winter crops should receive all of the sunlight they can get, so make sure they won’t be shaded. A south-facing slope is the best choice as it gets extra heat from the sun. You can even shape your shape winter beds so they tilt slightly to the south to give them a little extra solar gain.

The beds themselves should be well protected from cold winds. Don’t plant the winter garden in a low-lying area, as it might be a frost pocket and much colder than a more elevated slope.

The soil should also be well drained, as dampness is often as great as enemy of winter plants as cold is (much of the value of cloches and cold frames is due to their protecting plants from moisture).

Let Smart Gardener Help

The easiest way to plan a fall and winter garden is to let Smart Gardener do the work for you. If you already have a spring/summer garden, you can create a copy of your existing layout and select fall/winter, and then select the plants you want to grow.

Based on your frost dates, Smart Gardener will help you find which varieties are best for your climate, and let you know when it’s time to plant them.

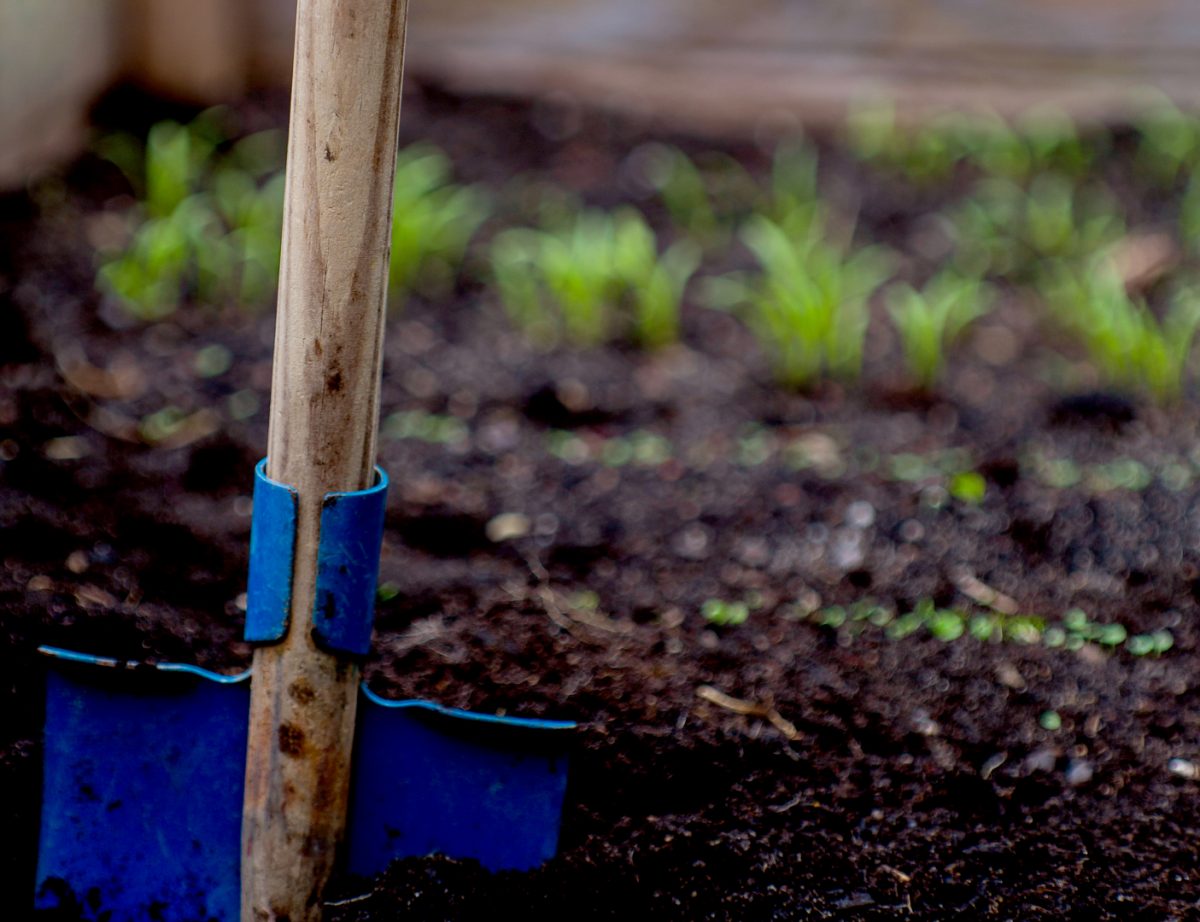
Prepare Clay Soil for Spring Planting

One of the major considerations when putting in a new garden is soil texture. The mineral make up of soil is a mixture of different sized particles: sand, silt and clay. Each component plays an important role in the soil’s structure, impacting how well roots can grow and how much water and nutrients are available. The goal is to find a good balance.

Ideally your garden’s soil will contain at least 20% clay. Soil with over 35% clay is considered “clay soil.”

Clay soil hold a lot of water (up to eight times as much as sandy soil) and are slow to dry out. This is an advantage in times of drought, but in wet climates it means they get waterlogged easily. Wet clay soils tend to be cold and slow to warm up in spring. It’s no wonder that many plants don’t over-winter well in clay soils.

Additionally, most plant roots have a hard time penetrating clay soil. The pores are so small and the particles so densely packed that plants will struggle to grow and thrive.

If your garden has clay soil, don’t give up hope. Clay soils can be heavy and difficult to work with, but if you persevere they can be very fertile and productive.

Use the tips below to turn your clay soil into an environment your plants and other beneficial organisms will love.

Blue spade in garden bed. Photo source: Markus Spiske, UnsplashTiming is everything
Limit cultivation to times when soil is not too dry or wet. If you work with dry clay soil it will be so hard it is almost impossible to dig and may crack into large chunks that crumble to dust. When this dust gets wet it sets rock hard, almost like plaster. It’s usually pretty obvious when it’s too dry to work with, and you may need to add water via irrigation, or wait for a soaking rain to soften the ground.

While working with dry clay soil is difficult, cultivation of wet clay is even worse. Wet clay soil compacts very easily when you put any pressure on it, creating a sticky mass that is also hard to penetrate. One sign your soil is too wet is when you leave shiny footprints where you’ve walked because the water has been squeezed from the soil.

Amending clay soil
Add well-decomposed organic matter like compost to help particles cluster together and form larger aggregates. This will improve drainage and aeration.

You can improve clay soil’s structure by adding a mix of 80% gypsum and 20% dolomitic lime. Use an ounce of this mix per square foot of soil in spring and again in fall. This may be repeated for a second year, while also adding as much organic matter as possible.

Adding calcium may be useful to improve soil structure temporarily, until you can get sufficient organic matter and soil life into the soil. But this only works if the soil is low in calcium.

Be sure to double dig to thoroughly incorporate organic matter and calcium, as well as fertilizer and other minerals your soil may need.

Garden fork and shovel in grassLong-term solutions
Use green manures to improve structure. Growing a green manure crop will protect the soil surface as well as add organic matter when you dig it in at the end of its season.

In autumn, when it’s relatively dry, roughly dig the soil and leave it over the winter for frost to break down the large clumps.

Other suggestions for working with clay soil
Use raised beds to improve aeration and prevent future compaction. Build them high to help them drain and warm up.

Slope the site slightly so the soil can drain more quickly.

Never allow clay soil to get so dry that is cracks. These cracks increase evaporation and make the soil hard to re-wet because water simply drains away down the cracks. If it does dry out, cultivate the soil surface.