Tag: gardening
-
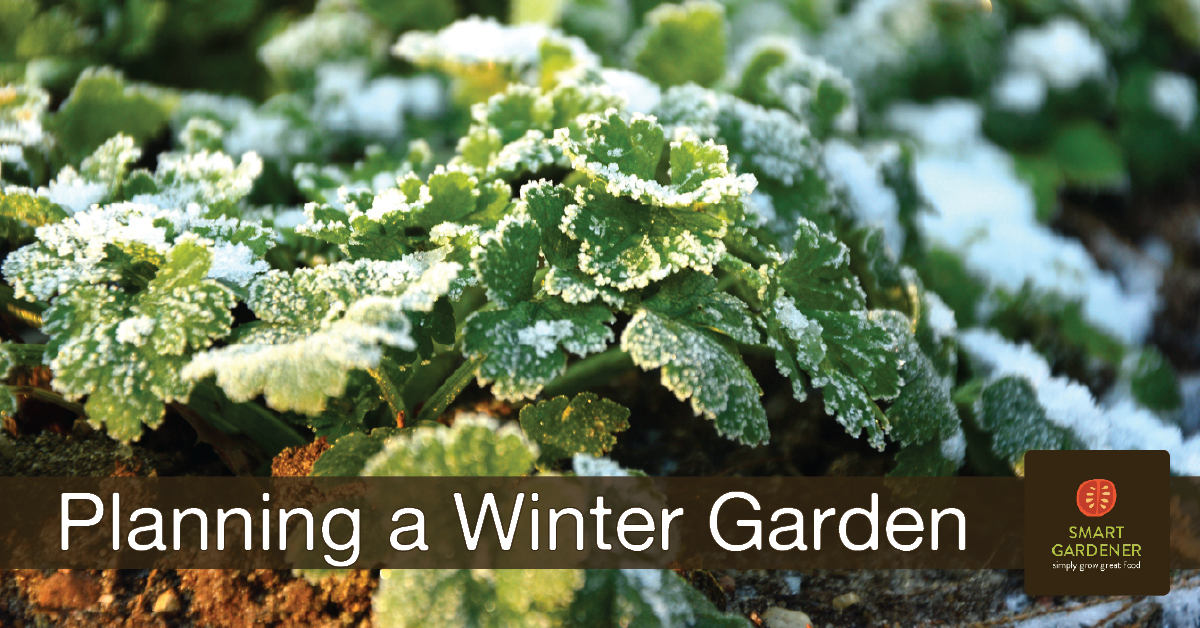
Planning a Winter Vegetable Garden
Planning a winter vegetable garden is surprisingly easy. Follow these tips to keep growing your own vegetables once the summer crops are done.
-
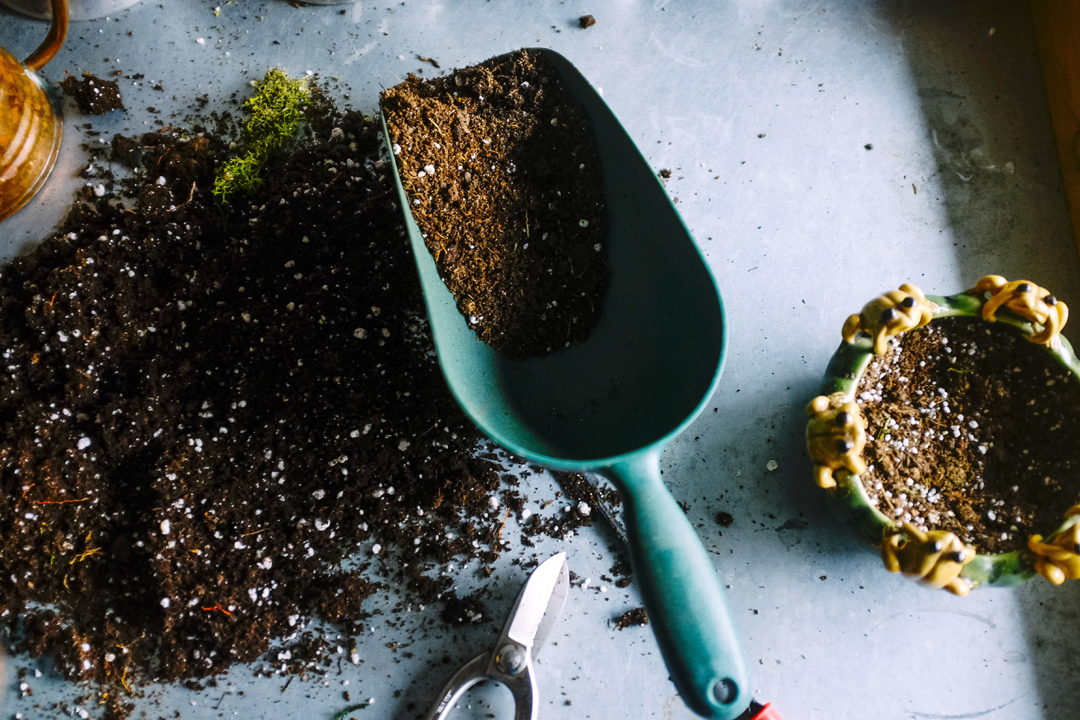
Making your own fertilizer mix
Making your own fertilizer mix has several advantages over buying a pre-packaged mix. That’s why it’s a basic component of Smart Gardener’s approach to organic gardening. Here’s a couple reasons why we like it so much: 1) Simplicity. It makes the whole question of “Which fertilizer do I use?” much simpler. It reduces the amount […]
-
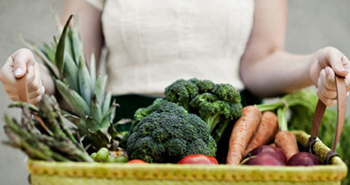
Top Ten Plants for a Beginner Garden
Starting a new garden can be exciting. It can also be a bit overwhelming. There are so many plants to choose from, how do you decide which to include? To make it easier, we made a list of our favorite plants for beginning gardeners.
-
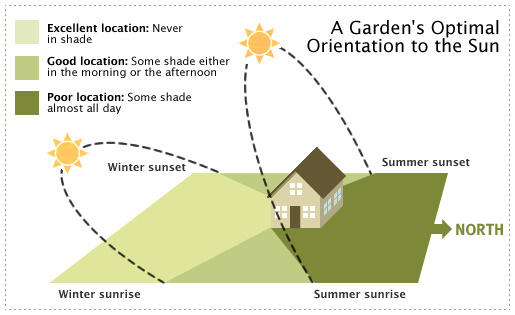
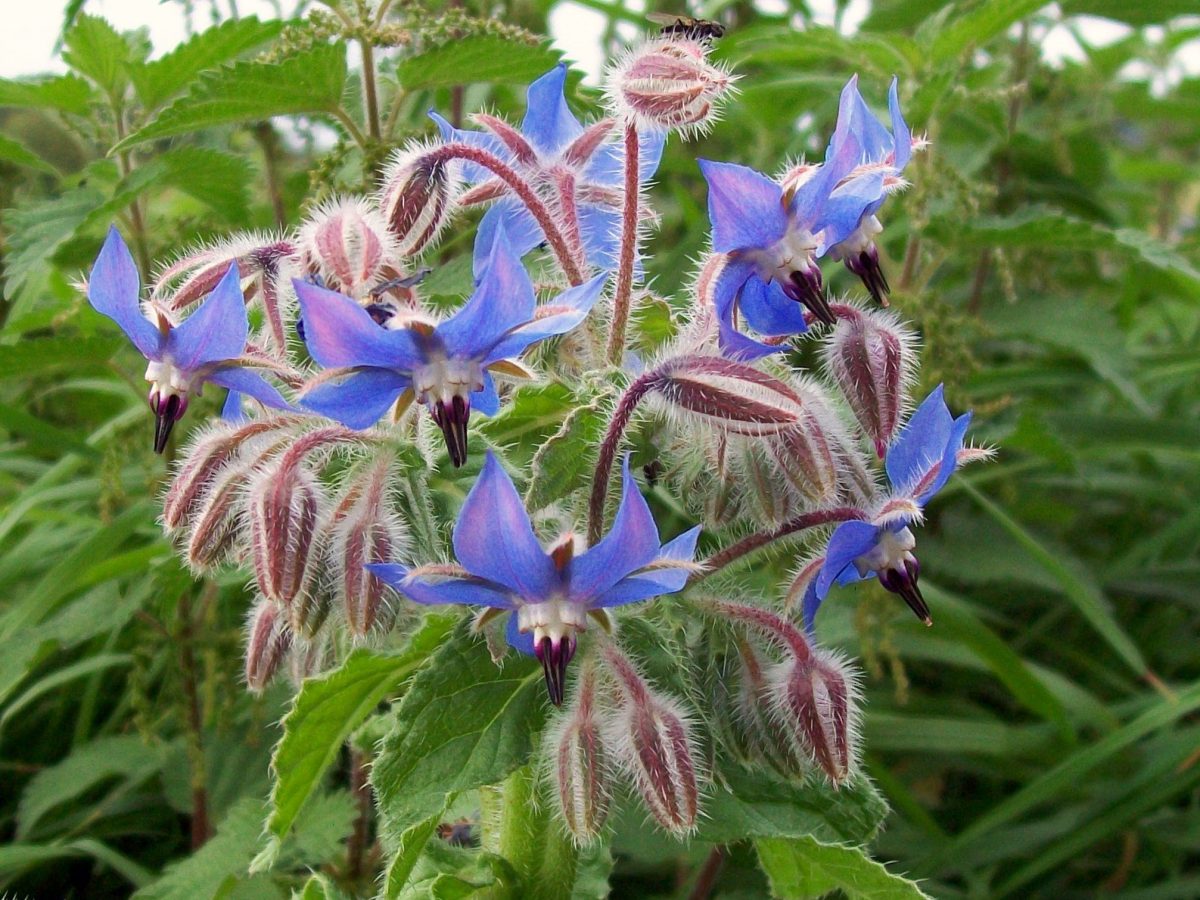
Where to Put the Vegetable Garden
If you are completely new to vegetable gardening, one of the first things you need to think about is where to put the garden. In a small garden you usually don’t have many options. It has to go where there is room. Don’t make the mistake of putting it where it won’t work though. If the best […]