Tag: spring garden
-
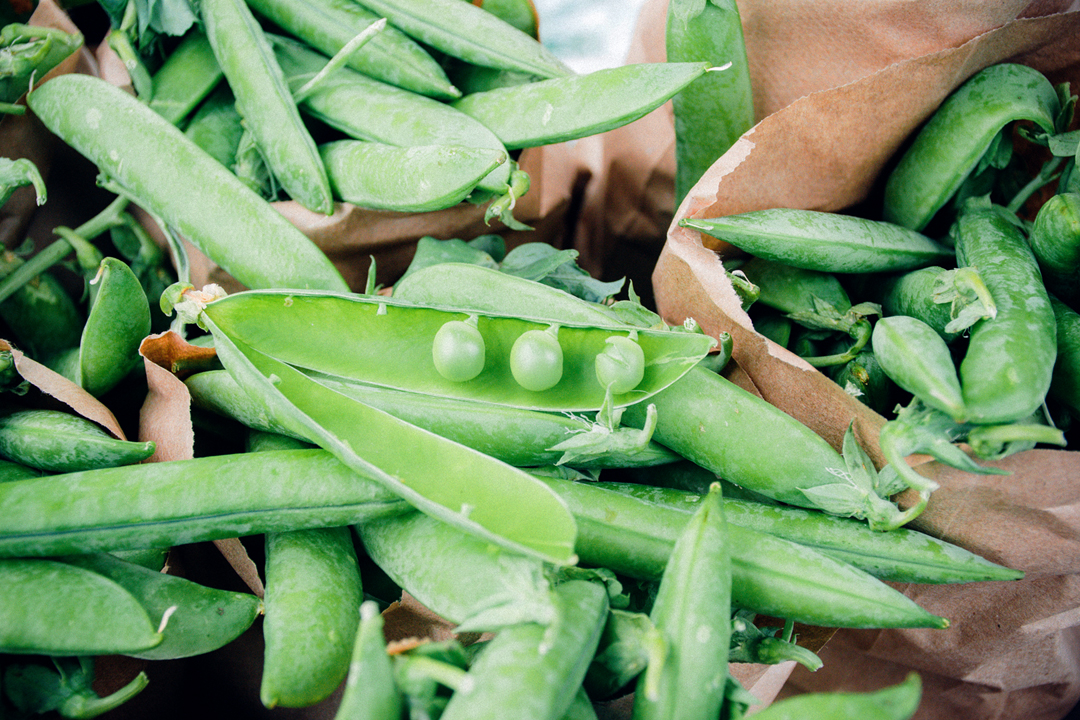
Peas for St. Patrick’s Day
In Ireland, St. Patrick’s Day is the traditional day to plant peas in a spring garden. In the United States the timing can vary somewhat from zone to zone, but March 17th still works well as a guide for starting peas for most areas. And what a perfect way to bring your garden a bit of […]
-
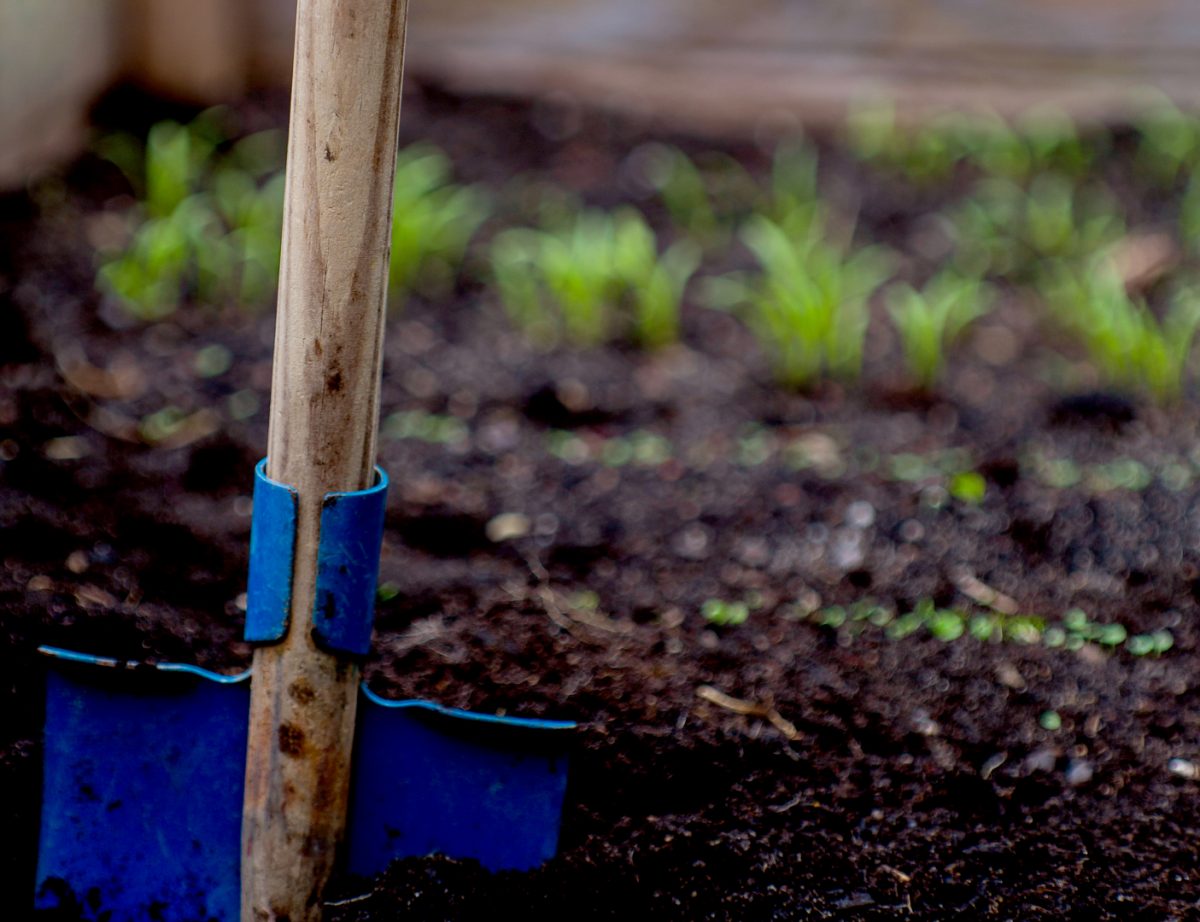
How do I prepare my garden for planting?
If you’re like me, when the first warm days of spring arrive, you can’t wait to get out into the garden and start planting. It means winter is finally over and the gardening season has begun. You’ve been looking at seed catalogs for months and have plenty of ideas you’re just waiting to try. However, […]
-

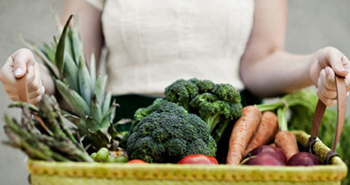
Spring Vegetables
So you’ve got your soil ready, it’s finally warm enough, and now you’re thinking about what to plant. It’s tempting to start planting all those great seeds you bought over the winter, but it’s best to take a moment and consider what weather conditions each plant needs to germinate and thrive. Each plant has an […]