Tag: spring gardening
-
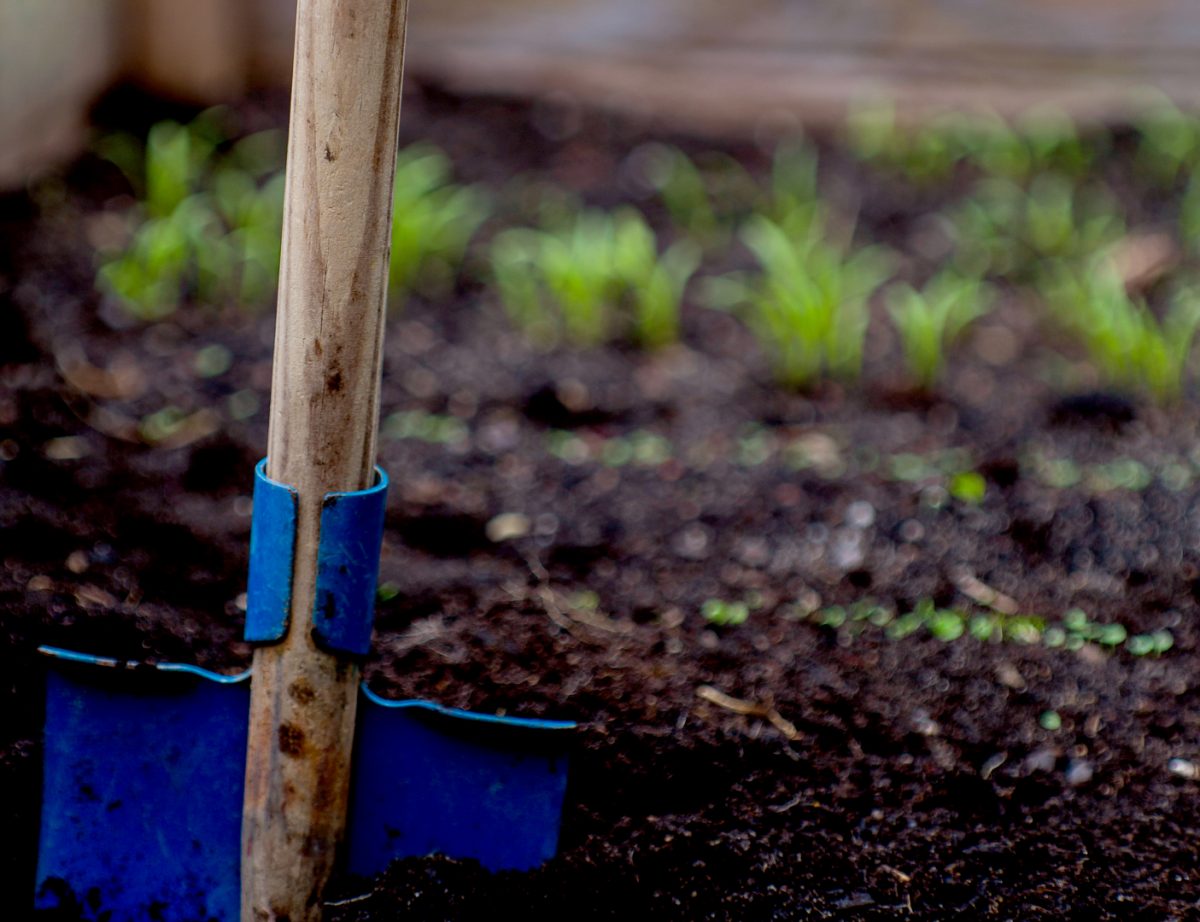
Prepare Clay Soil for Spring Planting
One of the major considerations when putting in a new garden is soil texture. The mineral make up of soil is a mixture of different sized particles: sand, silt and clay. Each component plays an important role in the soil’s structure, impacting how well roots can grow and how much water and nutrients are available. […]
-
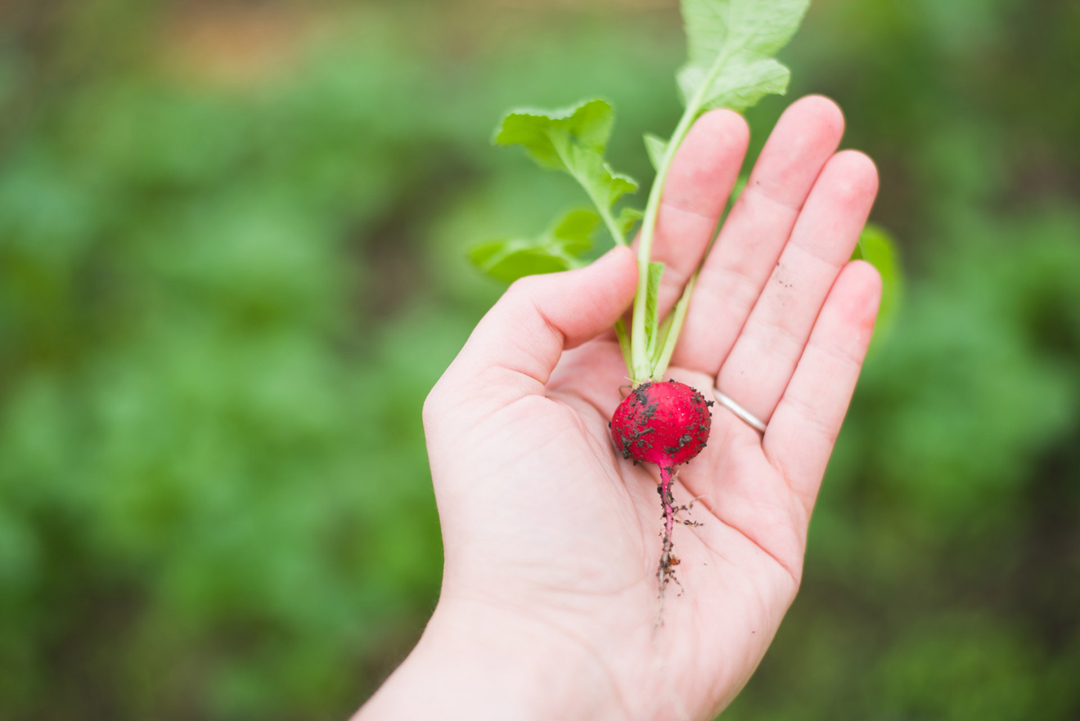
The trick to a successful first garden: start out small
You might not think so from the countless words that have been written about it, but vegetable gardening is a pretty simple process. Plants are genetically programmed to grow (even our pampered crop plants) and all you have to do is give them the right things at the right times. You take seed, put it in […]
-
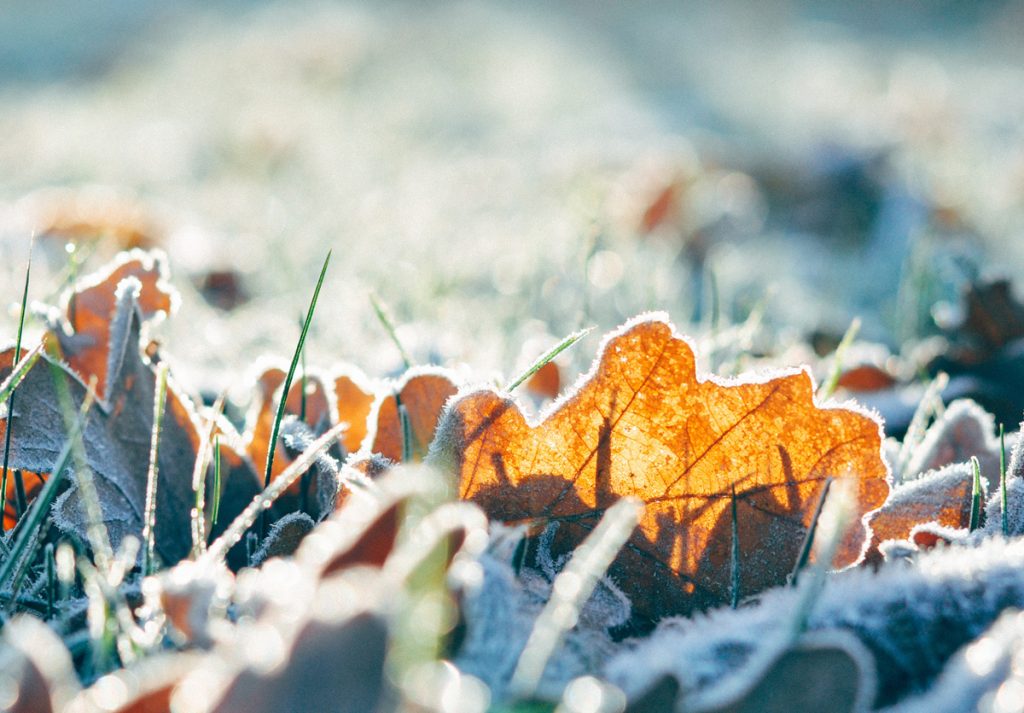
Ask a Gardener: finding your frost dates
This is another post in our Ask a Gardener series where you get to ask our resident experts your gardening questions. Send your questions to gardener@smartgardener.com. Becky D. asks: I don’t know my frost dates. How can I find that information? Why it’s important Gardeners need to know the date of the average last frost in […]
-
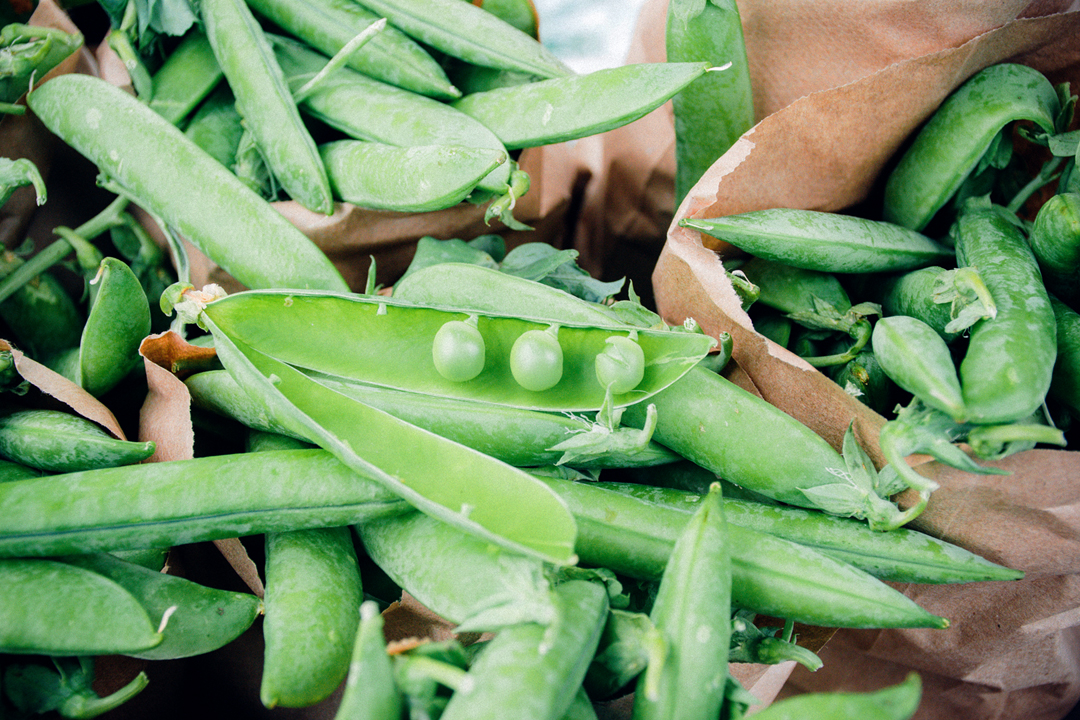
Peas for St. Patrick’s Day
In Ireland, St. Patrick’s Day is the traditional day to plant peas in a spring garden. In the United States the timing can vary somewhat from zone to zone, but March 17th still works well as a guide for starting peas for most areas. And what a perfect way to bring your garden a bit of […]
-
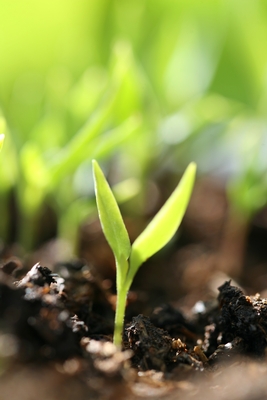
Don’t feed the birds
There are few things more frustrating than preparing, planting and pampering a bed of peas or beans and then discovering that the newly germinated seedlings have all been wiped out by birds. In most places birds are only a significant problem in spring when they seem to relish the abundant succulent green seedlings, but in […]
-

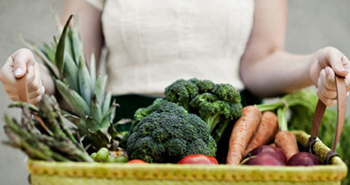
Spring Vegetables
So you’ve got your soil ready, it’s finally warm enough, and now you’re thinking about what to plant. It’s tempting to start planting all those great seeds you bought over the winter, but it’s best to take a moment and consider what weather conditions each plant needs to germinate and thrive. Each plant has an […]