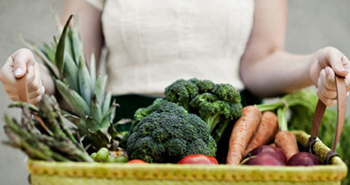
Tag: spring planting
-
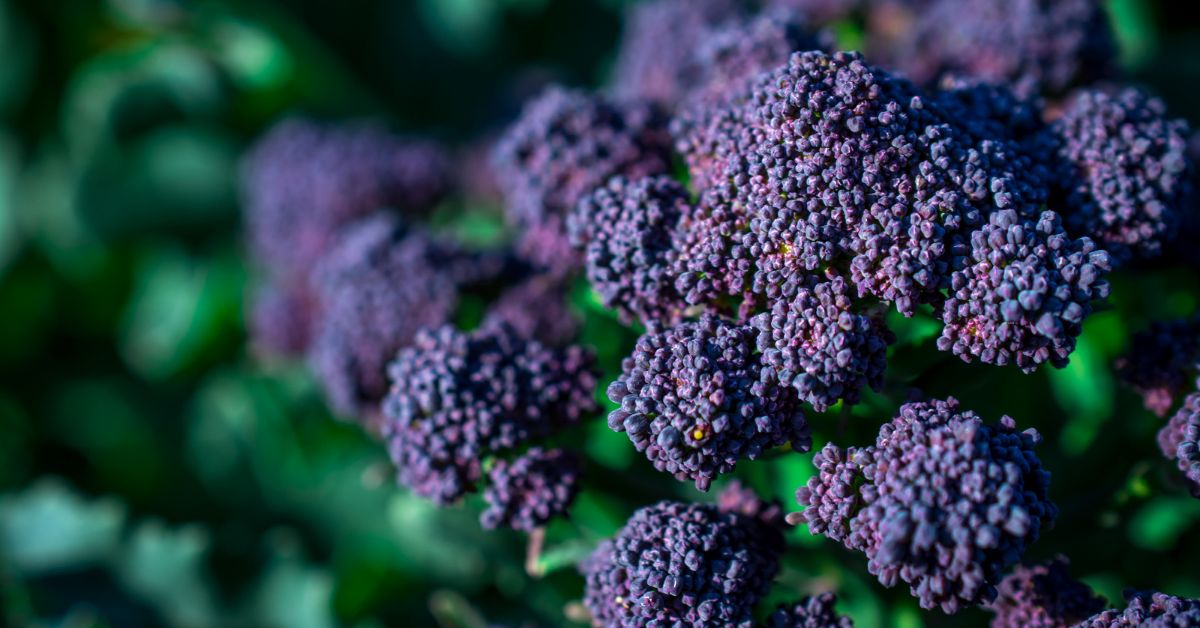
Smart Tips for Growing Broccoli
Broccoli is a wonderful vegetable to grow in your garden. It’s hard to beat the tender sweetness of a head of broccoli cooked just minutes after being harvested. It’s one of the easiest plants to put in for an early spring garden, and does well as a late season crop. It grows quickly, doesn’t require […]
-
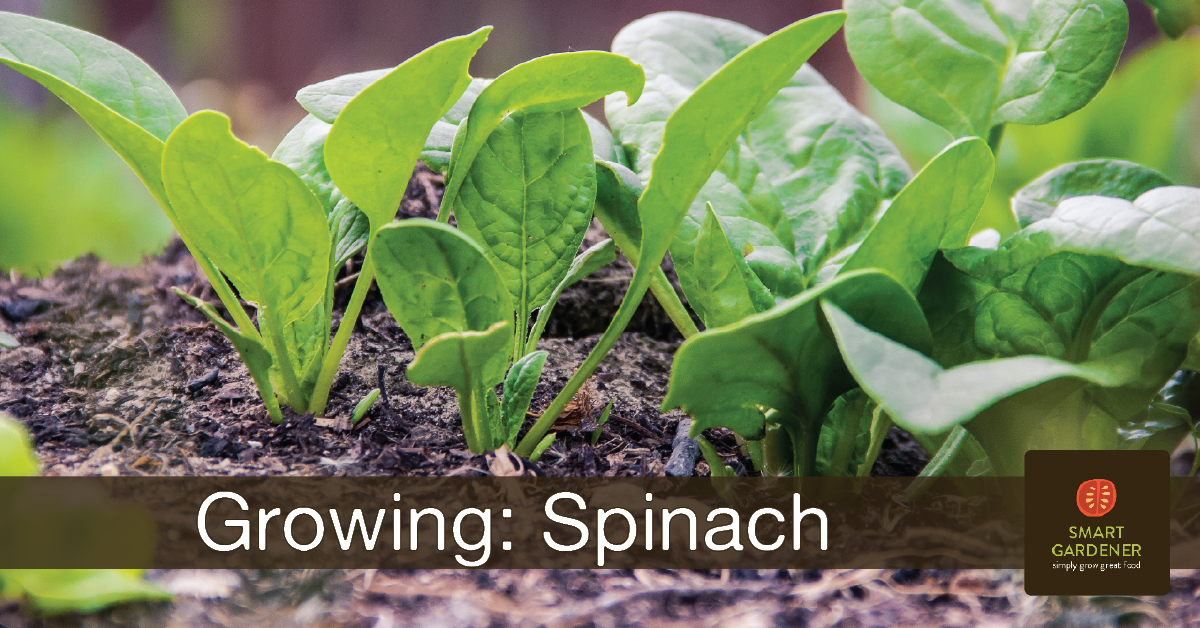
Tips for Growing Spinach
Spinach is an easy and fast plant to grow for garden-fresh salads. Other greens may get all the attention, but spinach is more than just a cartoon gimmick. It’s full of iron and calcium, as well as a wealth of antioxidants. And it’s super easy to grow! Below we have some tips for growing spinach […]
-
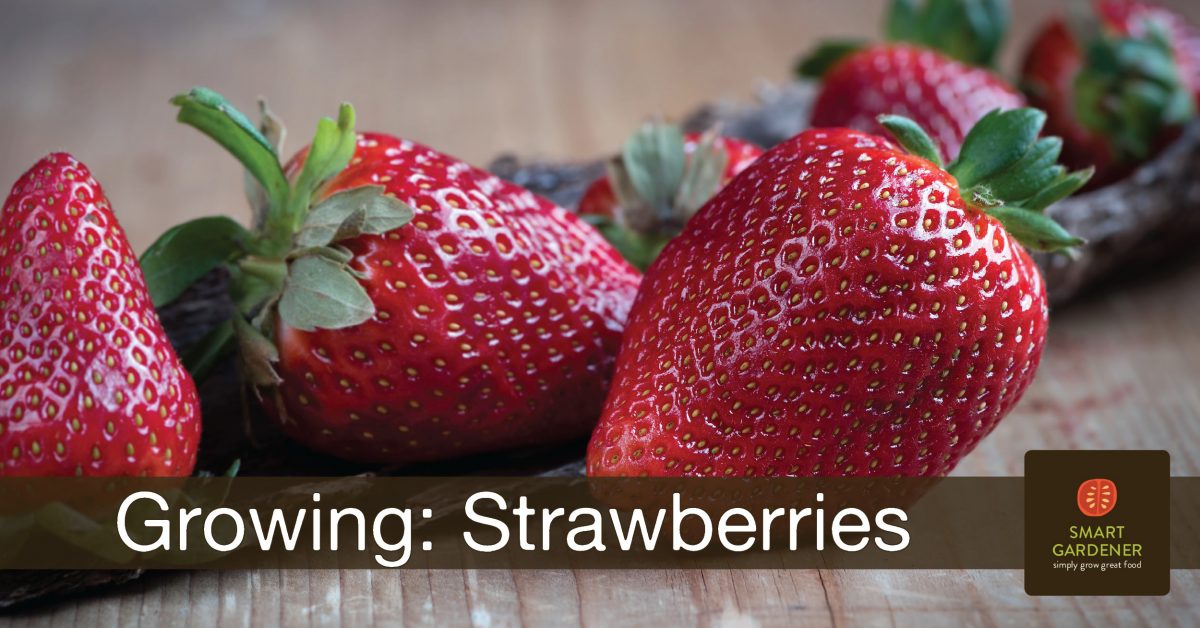
Strawberries
Strawberries are easy-to-grow plants that deserve a space in every garden. Nothing compares to the taste of homegrown strawberries — the sweetness is like the taste of summer. Just as garden-fresh tomatoes beat the flavor of supermarket tomatoes, the strawberries you grow in your garden will be sweeter, juicier, and more tender than anything the […]
-
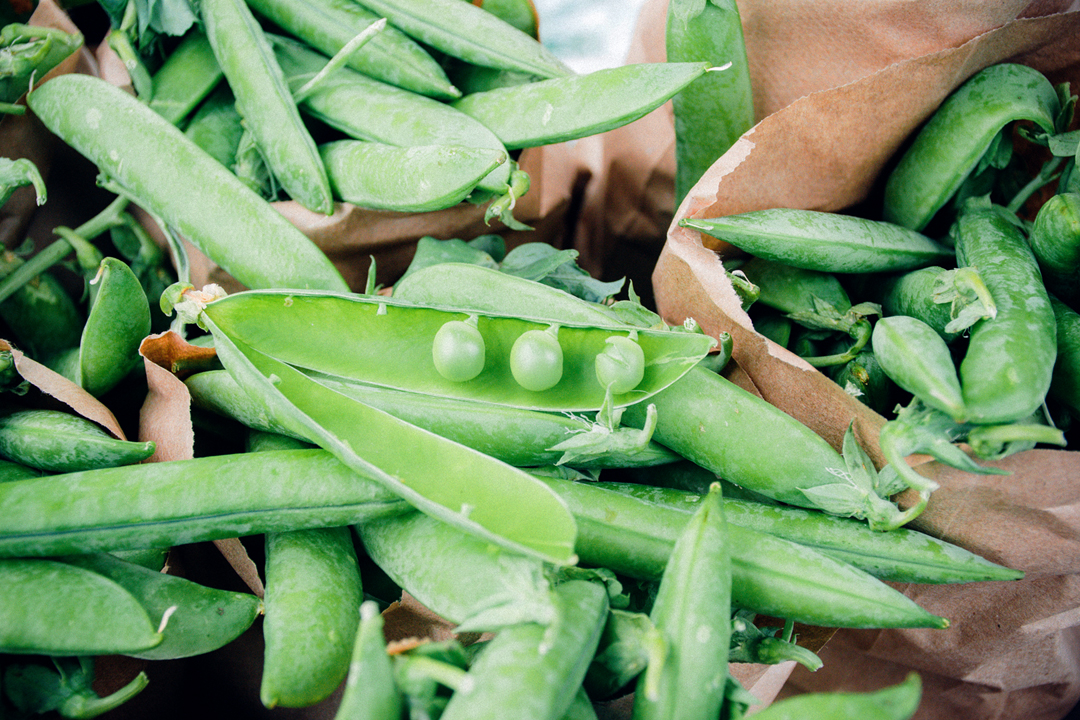
Peas for St. Patrick’s Day
In Ireland, St. Patrick’s Day is the traditional day to plant peas in a spring garden. In the United States the timing can vary somewhat from zone to zone, but March 17th still works well as a guide for starting peas for most areas. And what a perfect way to bring your garden a bit of […]
-
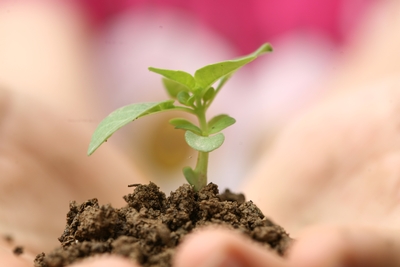
Early spring planting tips
You’ve already selected the area for your garden, started your seedlings, tended your soil, and mapped out your garden bed. All that’s left to do now is get planting. So, when is the right time to transplant your beautiful starts? Ideally, the spring growing season starts when the day length gets over 10 hours (which […]