Tag: air temperature
-
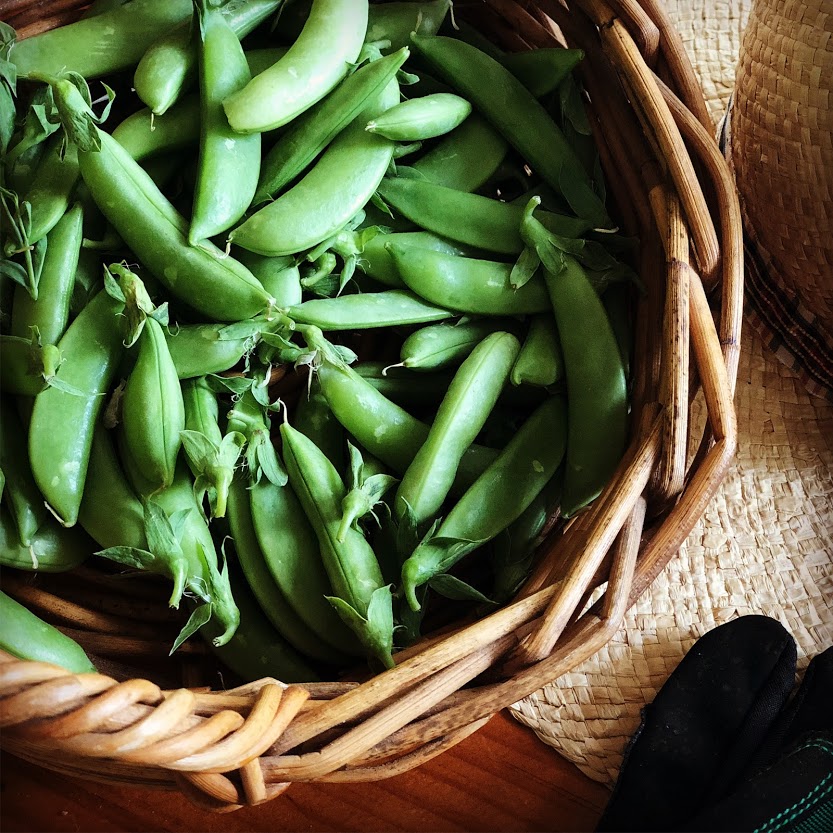
Sugar Snap Peas
Have you considered growing peas? Looking for something to feed your sweet tooth, straight from the garden? Look no further than the Sugar Snap pea. There’s a reason they’re called “garden candy.” The Sugar Snap is actually a relative newcomer to the garden (first introduced in 1979), but it is now established as one of […]
-
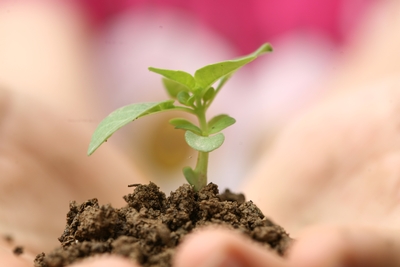
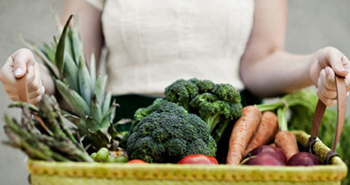
Early spring planting tips
You’ve already selected the area for your garden, started your seedlings, tended your soil, and mapped out your garden bed. All that’s left to do now is get planting. So, when is the right time to transplant your beautiful starts? Ideally, the spring growing season starts when the day length gets over 10 hours (which […]