Tag: cool weather gardening
-
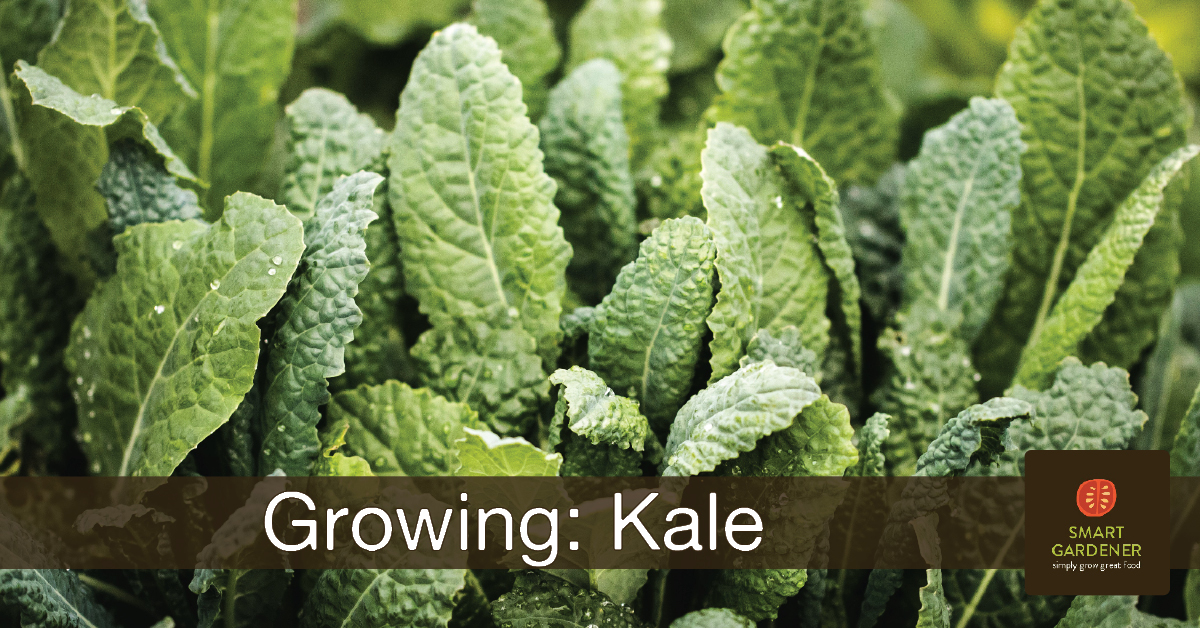
Smart Tips for Growing Kale
Kale is a hearty, nutritious plant that is easy to grow and perfect for every garden. There’s a reason kale is so popular with the health food crowd: It’s chock full of nutrients. Whether you’re putting it in smoothies, making chips, cooking it in stews or massaging it salads, the uses for kale are nearly […]
-

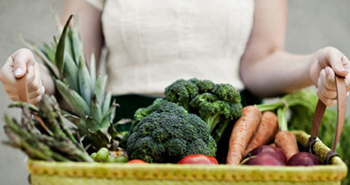
Extending Your Summer Garden Growing Season
Extending your summer garden growing season is surprisingly easy. With a little planning you can continue to harvest tender plants like lettuces and tomatoes for several weeks, and maybe longer.
-
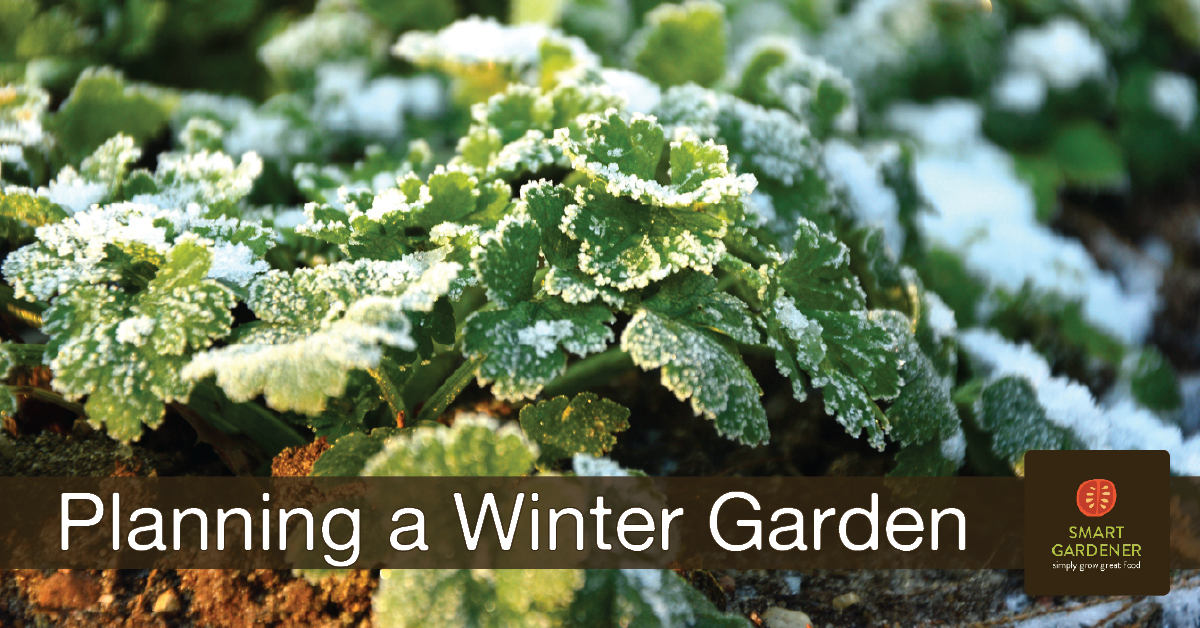
Planning a Winter Vegetable Garden
Planning a winter vegetable garden is surprisingly easy. Follow these tips to keep growing your own vegetables once the summer crops are done.
-
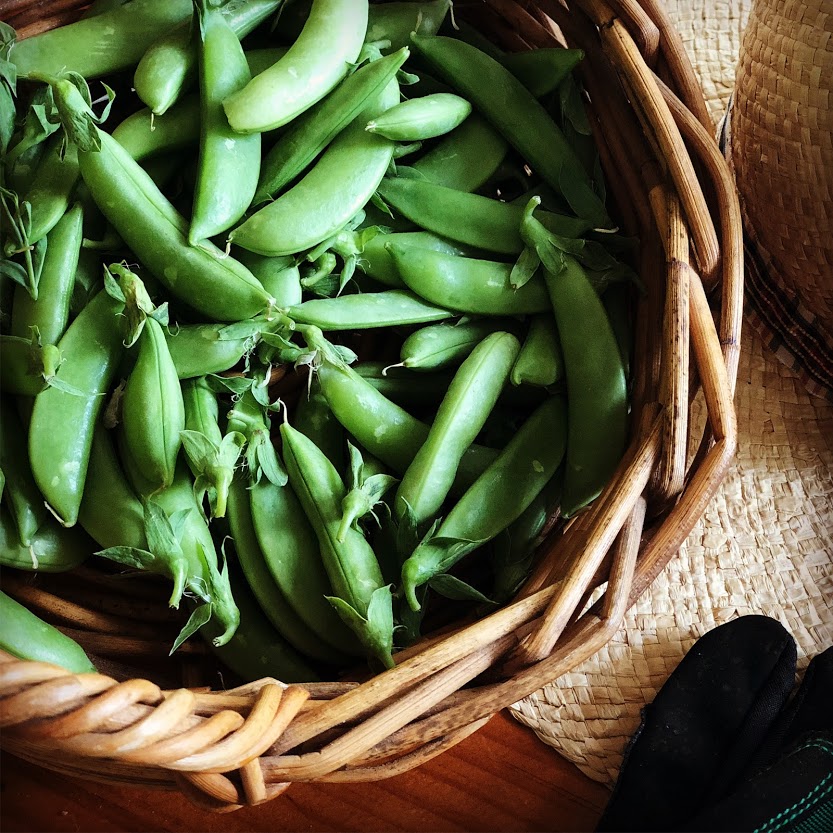
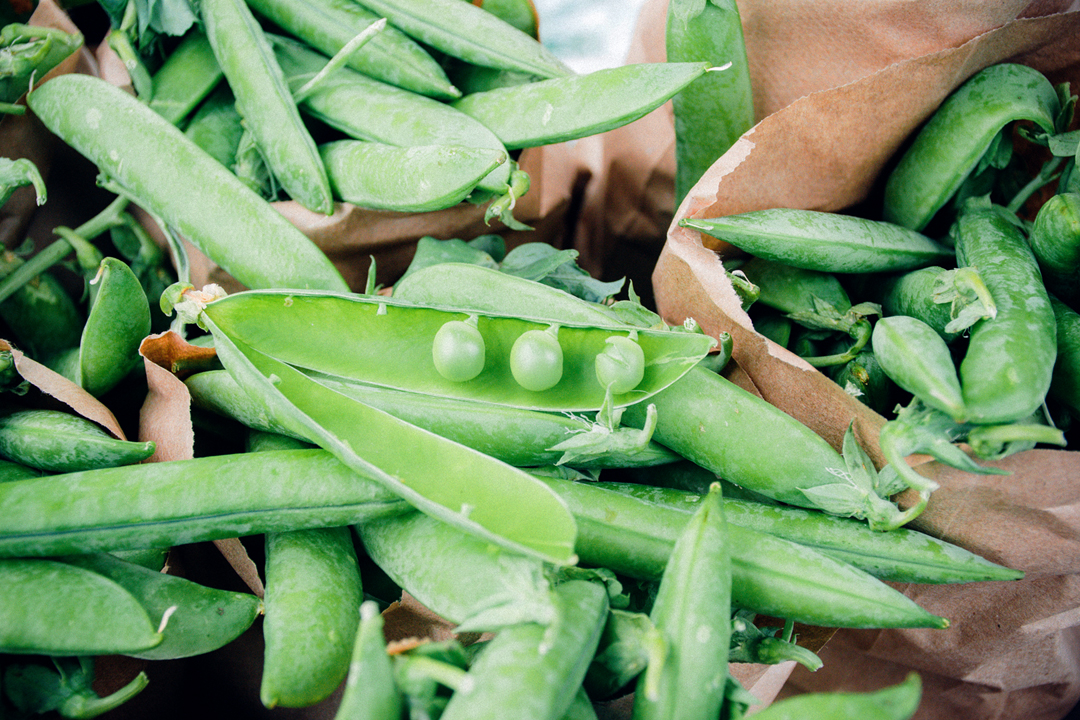
Sugar Snap Peas
Have you considered growing peas? Looking for something to feed your sweet tooth, straight from the garden? Look no further than the Sugar Snap pea. There’s a reason they’re called “garden candy.” The Sugar Snap is actually a relative newcomer to the garden (first introduced in 1979), but it is now established as one of […]
-
Peas for St. Patrick’s Day
In Ireland, St. Patrick’s Day is the traditional day to plant peas in a spring garden. In the United States the timing can vary somewhat from zone to zone, but March 17th still works well as a guide for starting peas for most areas. And what a perfect way to bring your garden a bit of […]
-

Spring Vegetables
So you’ve got your soil ready, it’s finally warm enough, and now you’re thinking about what to plant. It’s tempting to start planting all those great seeds you bought over the winter, but it’s best to take a moment and consider what weather conditions each plant needs to germinate and thrive. Each plant has an […]