Tag: Garden advice
-
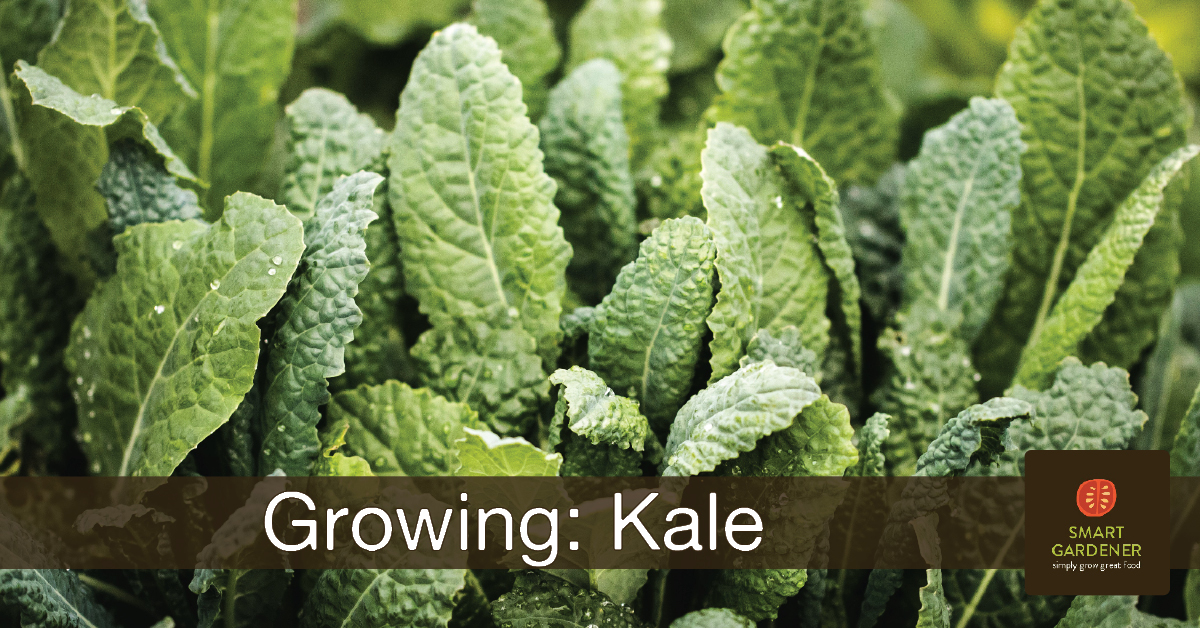
Smart Tips for Growing Kale
Kale is a hearty, nutritious plant that is easy to grow and perfect for every garden. There’s a reason kale is so popular with the health food crowd: It’s chock full of nutrients. Whether you’re putting it in smoothies, making chips, cooking it in stews or massaging it salads, the uses for kale are nearly […]
-
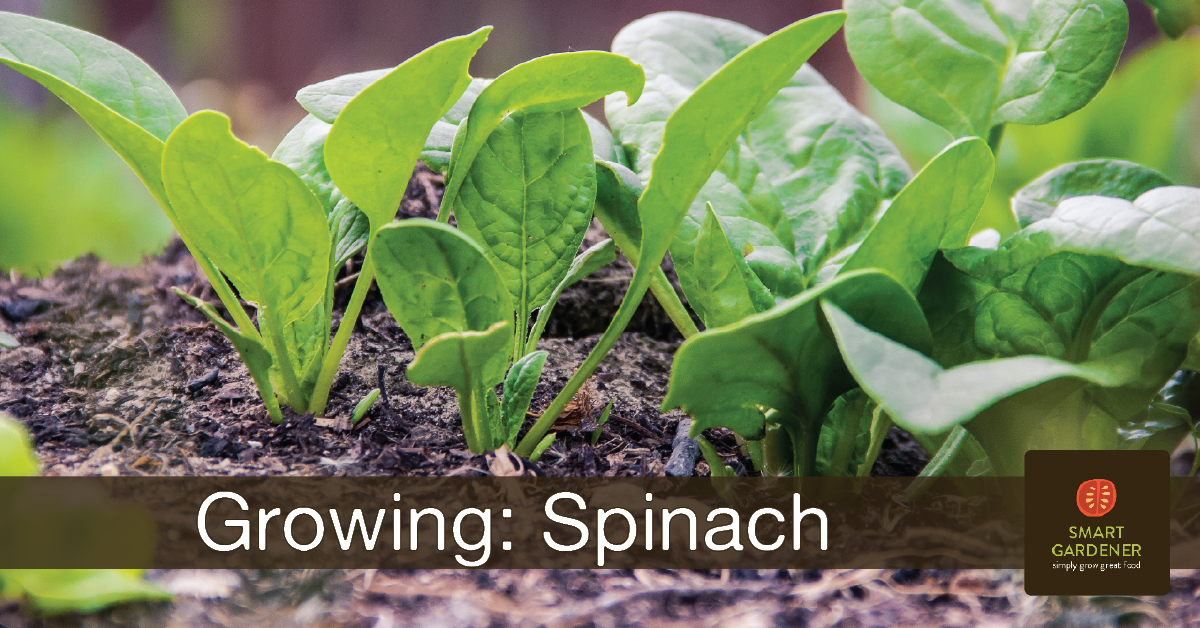
Tips for Growing Spinach
Spinach is an easy and fast plant to grow for garden-fresh salads. Other greens may get all the attention, but spinach is more than just a cartoon gimmick. It’s full of iron and calcium, as well as a wealth of antioxidants. And it’s super easy to grow! Below we have some tips for growing spinach […]
-
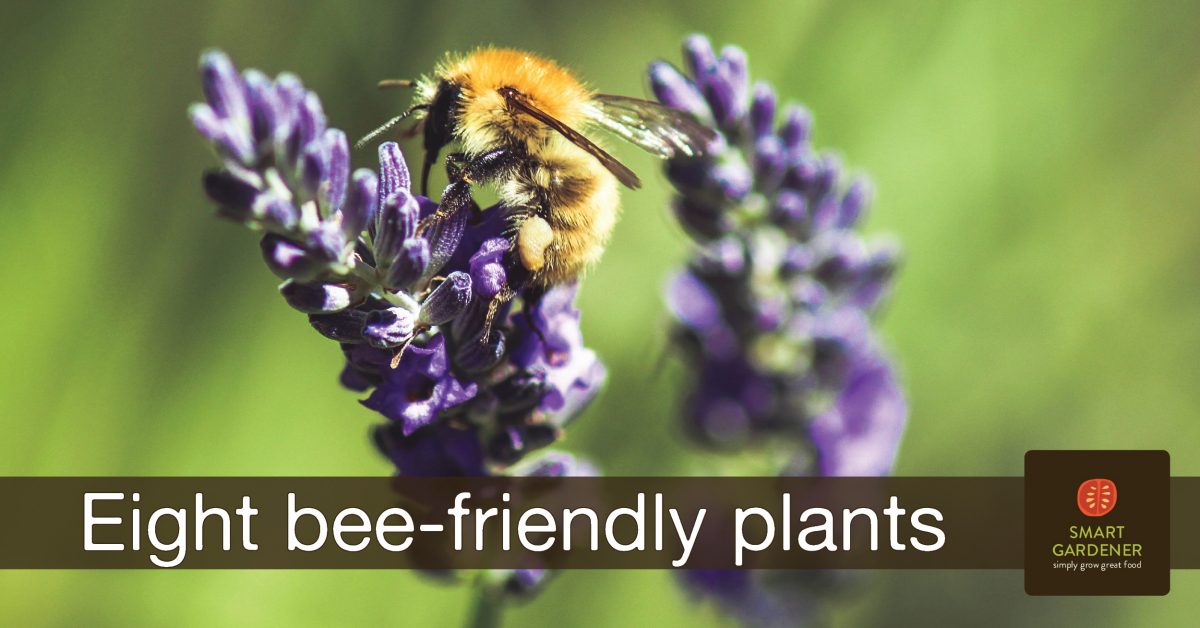
Eight bee-friendly plants for your garden
Did you know there are between 25,000 and 30,000 species of bees? May 20th has been designated as World Bee Day to celebrate the importance of bees and other pollinators and to bring attention to the threats they face from loss of habitat, pesticides, and a changing climate. Bees and other pollinators are a critically important […]
-
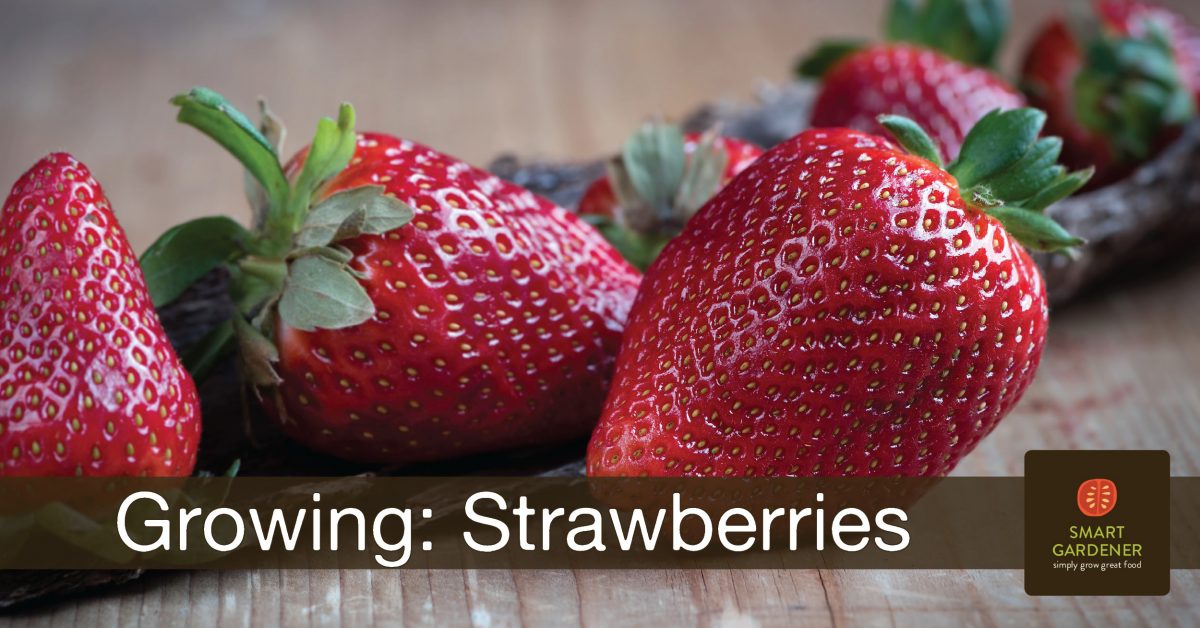
Strawberries
Strawberries are easy-to-grow plants that deserve a space in every garden. Nothing compares to the taste of homegrown strawberries — the sweetness is like the taste of summer. Just as garden-fresh tomatoes beat the flavor of supermarket tomatoes, the strawberries you grow in your garden will be sweeter, juicier, and more tender than anything the […]
-
Top 9 tips for beginner gardeners
Every year we are inspired by all the new gardeners we meet setting out on the journey of growing their own food. Their excitement is so pure it’s inspirational to even hardened old-timers. In fact, one of the best things about gardening is how eager older gardeners (folks with several years’ worth of dirt under […]