Tag: organic gardening
-

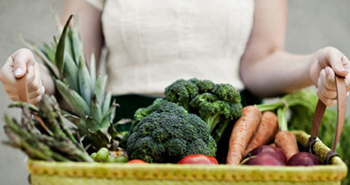
Gardening is Good for the Environment
We already know gardens are good for our health: growing your healthy food, spending time in nature, and getting some exercise, to name just a few benefits. But did you know gardening is good for the environment? We’ve come up with eight great reasons to plant a garden for the environment: Gardens improve air quality. […]
-
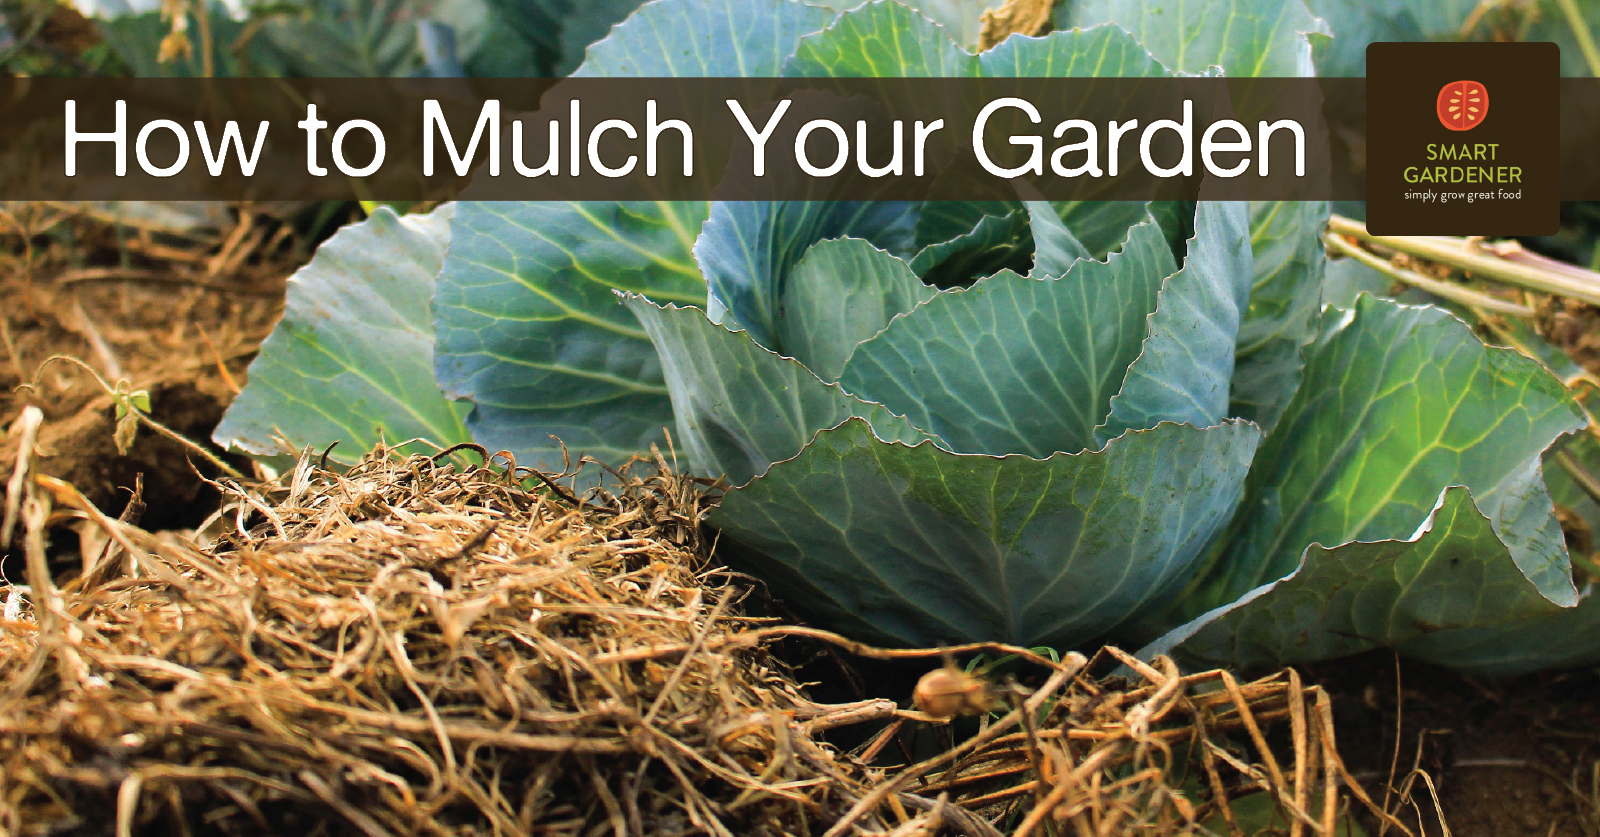
How to apply mulch to a vegetable garden
Mulch is an indispensable part of the vegetable garden, with a multitude of benefits. We’ve got tips to help you know how much to add and when to add it.
-
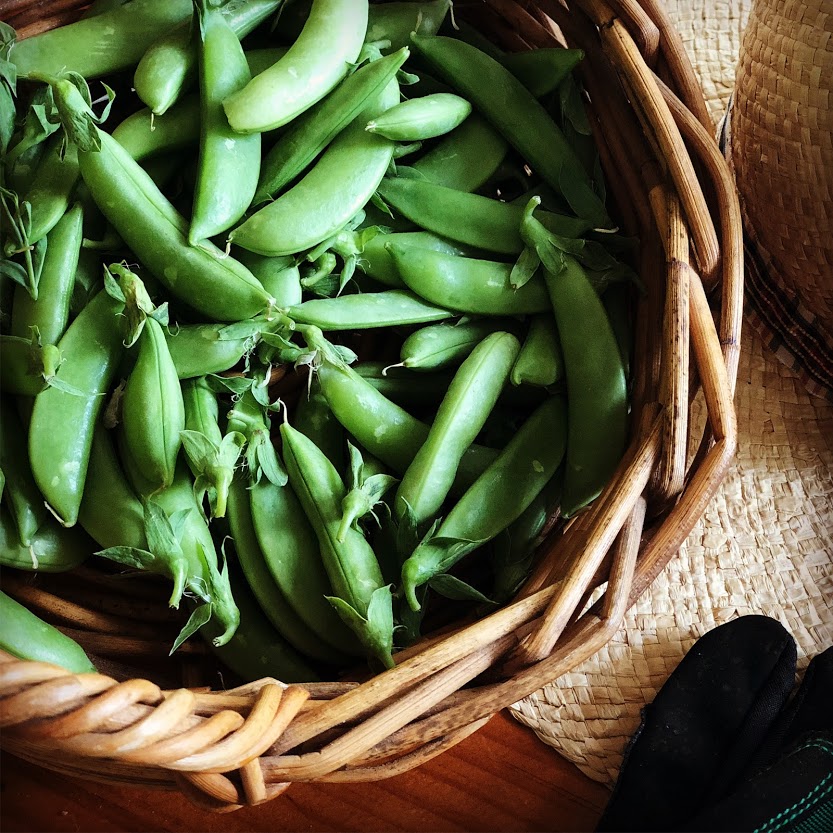
Sugar Snap Peas
Have you considered growing peas? Looking for something to feed your sweet tooth, straight from the garden? Look no further than the Sugar Snap pea. There’s a reason they’re called “garden candy.” The Sugar Snap is actually a relative newcomer to the garden (first introduced in 1979), but it is now established as one of […]
-
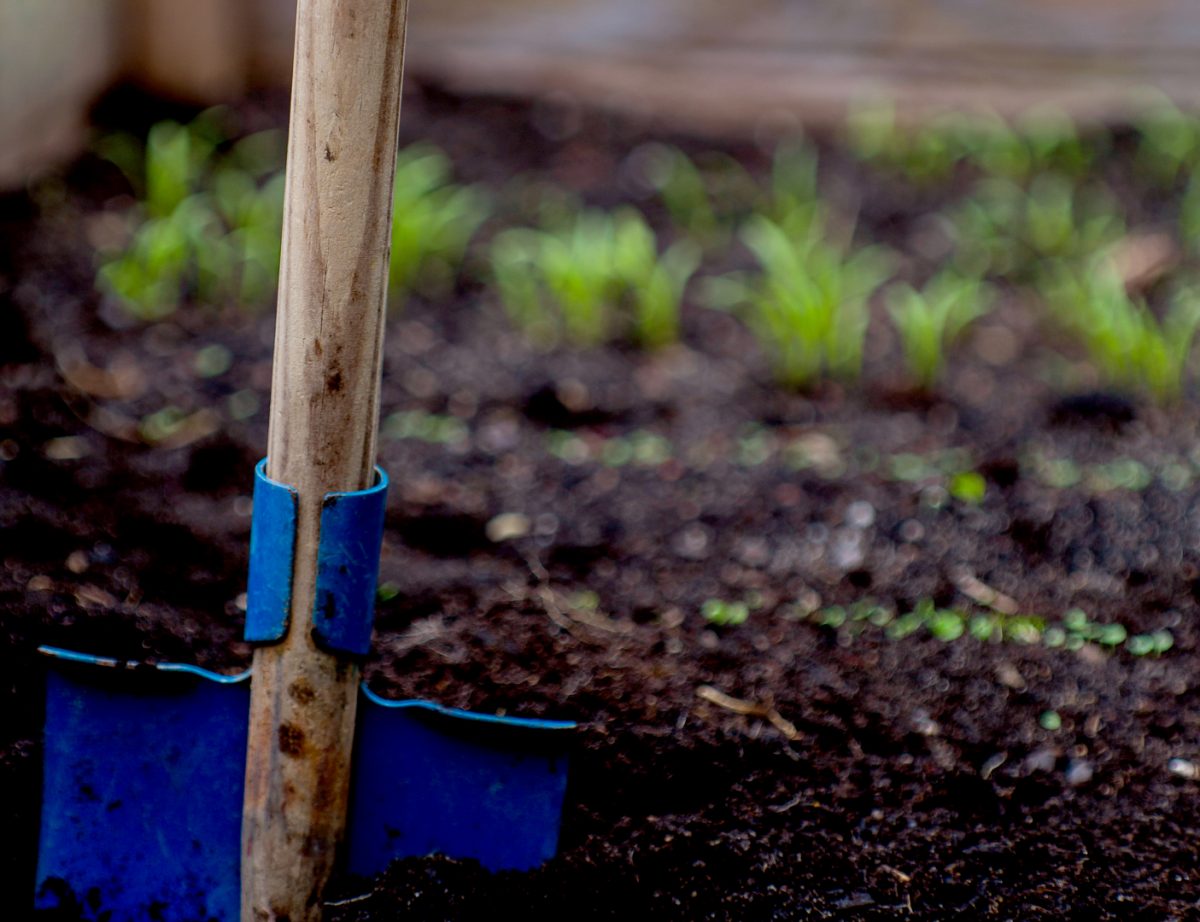
How do I prepare my garden for planting?
If you’re like me, when the first warm days of spring arrive, you can’t wait to get out into the garden and start planting. It means winter is finally over and the gardening season has begun. You’ve been looking at seed catalogs for months and have plenty of ideas you’re just waiting to try. However, […]
-
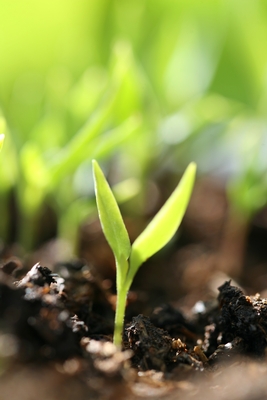
Don’t feed the birds
There are few things more frustrating than preparing, planting and pampering a bed of peas or beans and then discovering that the newly germinated seedlings have all been wiped out by birds. In most places birds are only a significant problem in spring when they seem to relish the abundant succulent green seedlings, but in […]
-
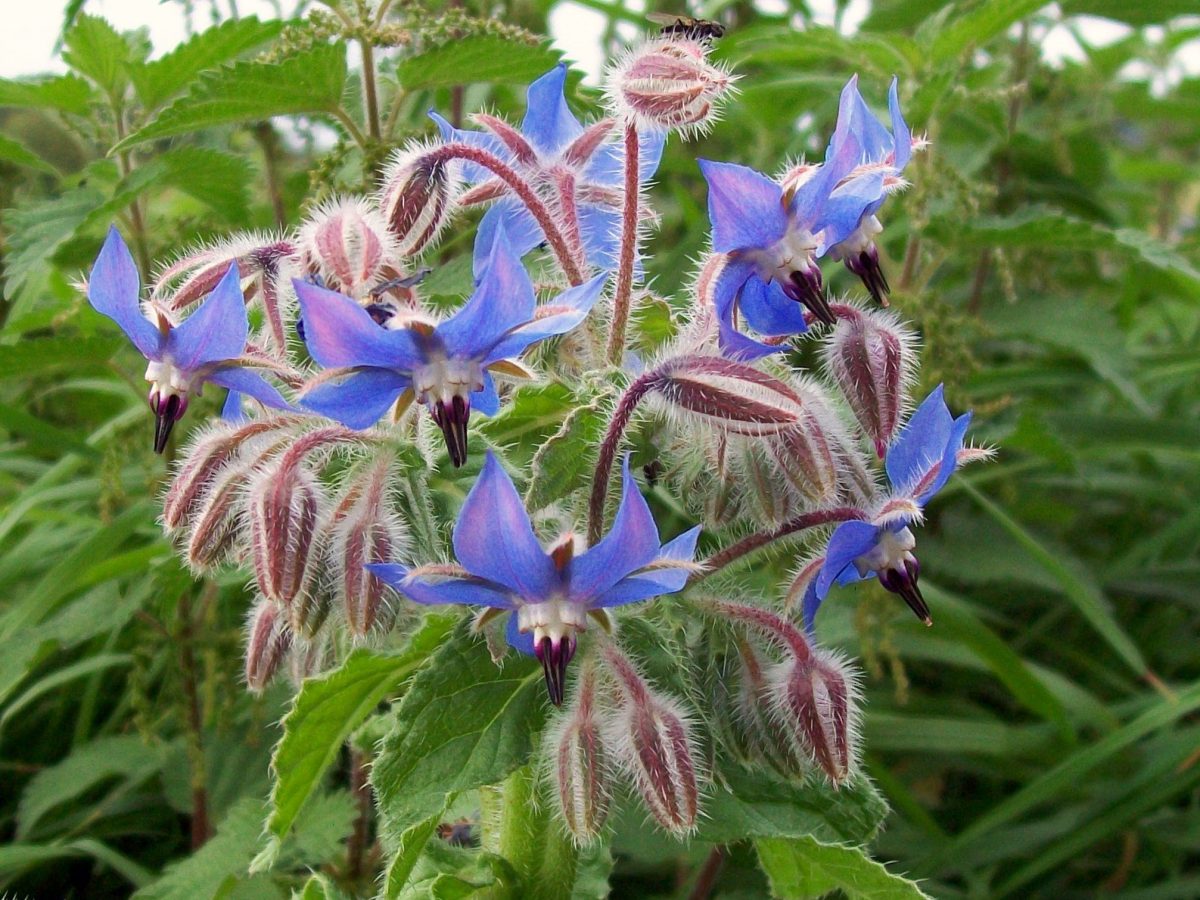
Top Ten Plants for a Beginner Garden
Starting a new garden can be exciting. It can also be a bit overwhelming. There are so many plants to choose from, how do you decide which to include? To make it easier, we made a list of our favorite plants for beginning gardeners.