Tag: soil preparation
-
Prepare Clay Soil for Spring Planting
One of the major considerations when putting in a new garden is soil texture. The mineral make up of soil is a mixture of different sized particles: sand, silt and clay. Each component plays an important role in the soil’s structure, impacting how well roots can grow and how much water and nutrients are available. […]
-
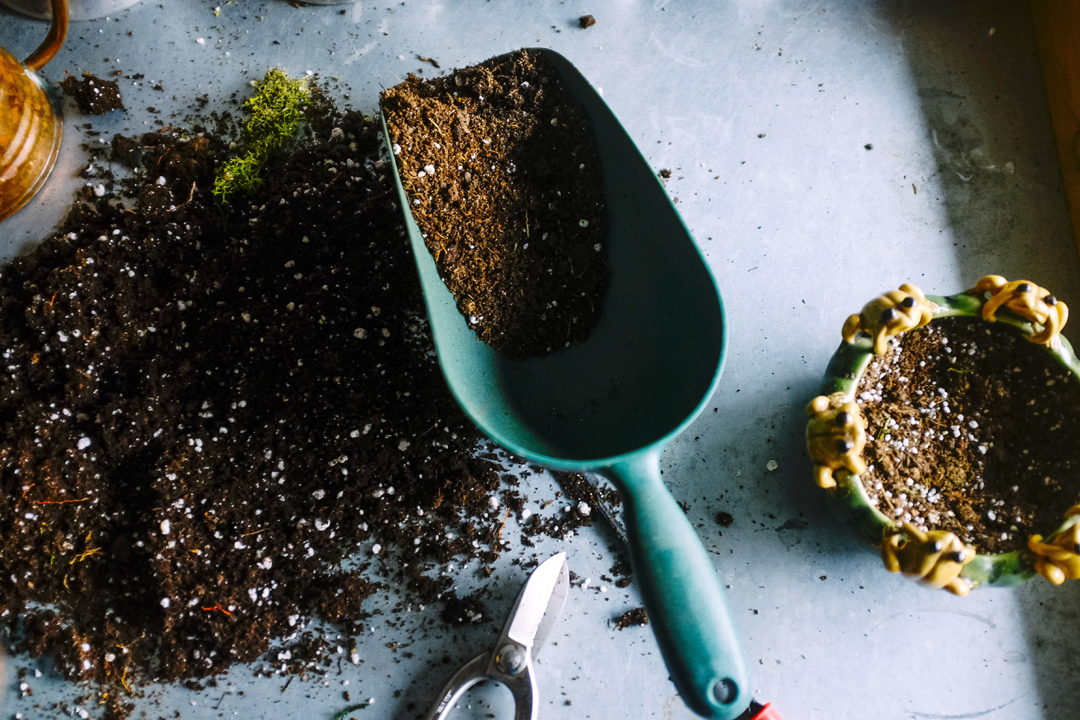
Making your own fertilizer mix
Making your own fertilizer mix has several advantages over buying a pre-packaged mix. That’s why it’s a basic component of Smart Gardener’s approach to organic gardening. Here’s a couple reasons why we like it so much: 1) Simplicity. It makes the whole question of “Which fertilizer do I use?” much simpler. It reduces the amount […]
-
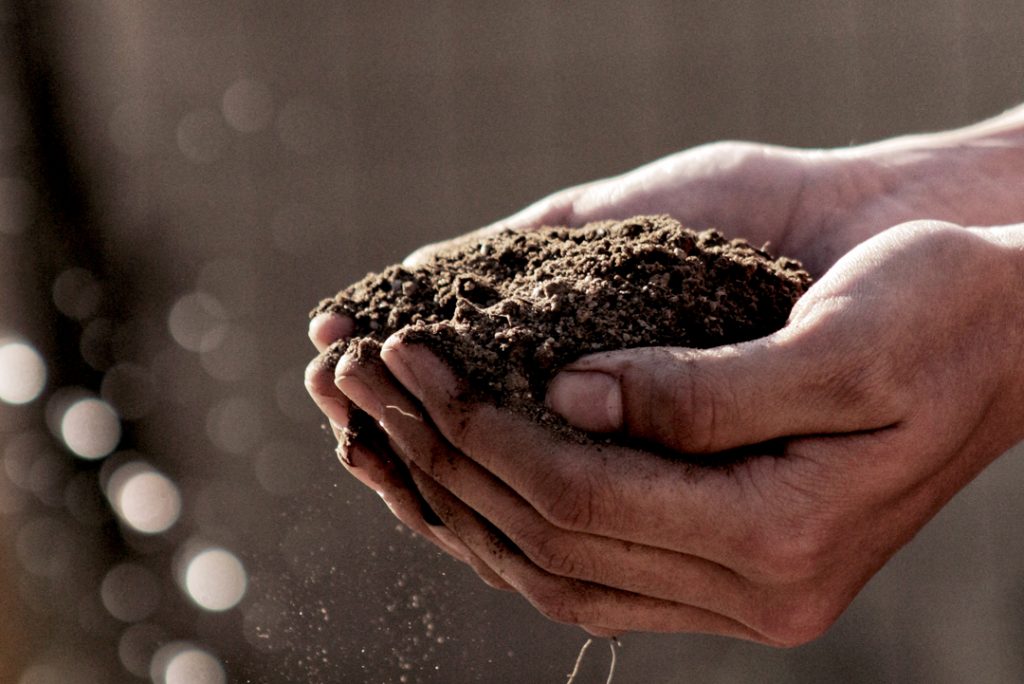
It’s all about the dirt
Ask yourself: Why do we have gardens? What do we grow fruits and vegetables for? Food. Nutrition and health. And what’s the key to growing healthy food? It’s simple: it’s all about the dirt. That’s right. Dirt’s not just the yucky muddy mess that kids track into the house. The dirt in your backyard lays […]
-
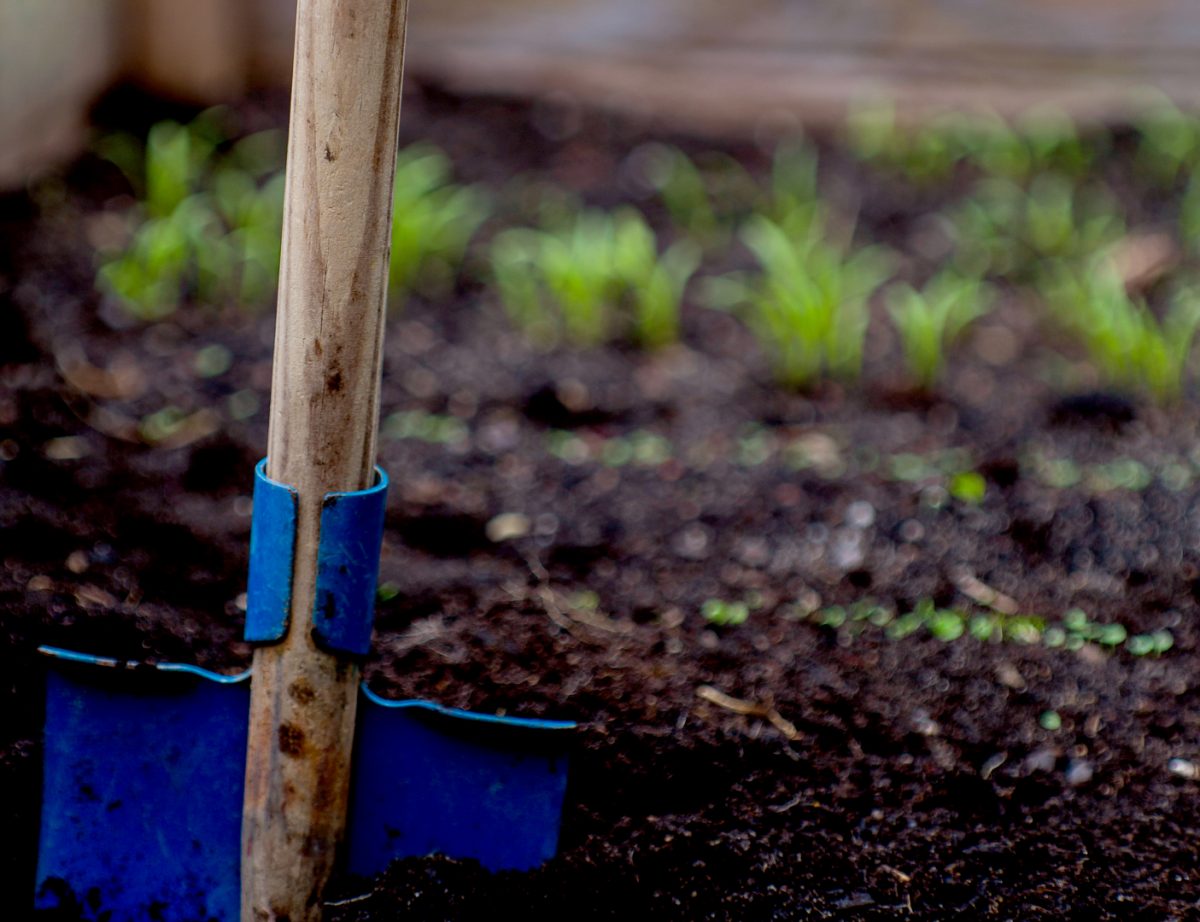
How do I prepare my garden for planting?
If you’re like me, when the first warm days of spring arrive, you can’t wait to get out into the garden and start planting. It means winter is finally over and the gardening season has begun. You’ve been looking at seed catalogs for months and have plenty of ideas you’re just waiting to try. However, […]