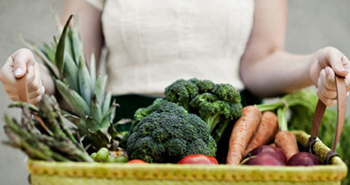
For this post in our Ask a Gardener series, Allan N. has asked us about testing seed viability:
Q. I have a bunch of old seeds from years ago. Can I use them in my garden this year? How do I know if they’re still good?
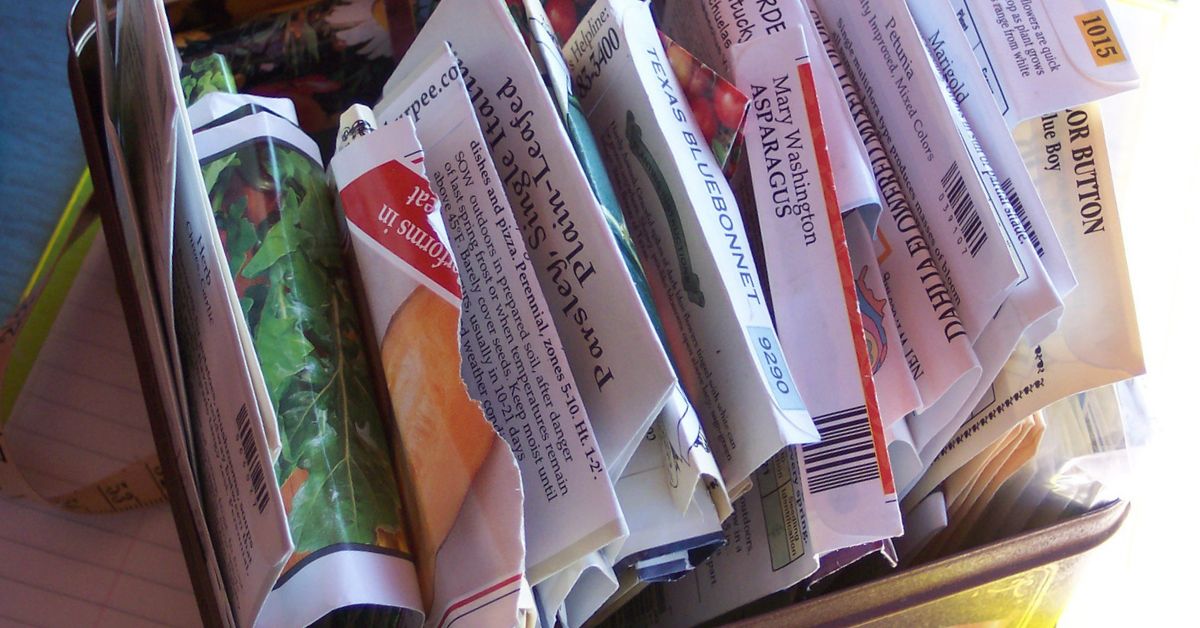
A. Great question! As gardeners across the country are getting ready for their spring planting, and digging out their seeds from last year (or years ago) many are asking the same thing. There are a couple of to test the viability of your seeds before planting.

Did you know that seeds are actually alive? While seeds are not actively growing, they’re still going through the process of respiration. That means they are slowly converting their stored energy to keep themselves ready for growth as soon as the conditions are right. Seeds uses that energy throughout the germination process, with photosynthesis only taking over after the creation of the plant’s first true leaves.
They can go a long time in this state, but after a few years, they may not have enough energy stored in their endosperm for a good germination and vigorous leaf development. But how long does that take?
Some seeds evolved to stay in this waiting state for a very long time. Many so-called weeds can wait decades (or longer!) to germinate. While other seeds only last a few years at most. Many of the more common garden plants fall into this second group.
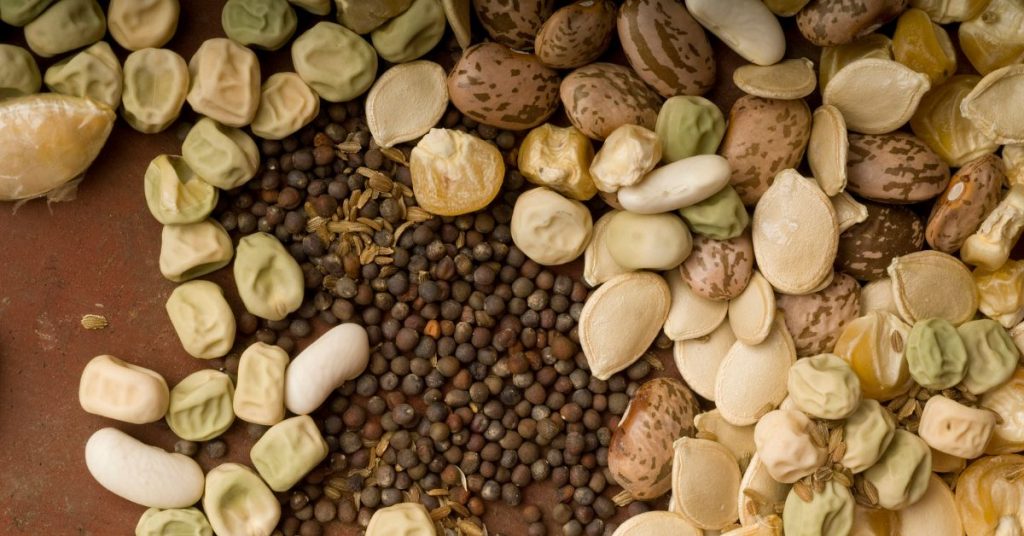
There are a couple of methods for testing seed viability. The two best are the water test, and the germination test.
The Water Test
The quickest way of testing seed viability is to dunk them in a glass of water.
The seeds in question are placed in water for about 15 minutes. After that, you should see some seeds still on the surface and others at the bottom of the glass. The good seeds will sink, while the bad seeds float.
You can then scoop out and throw out the bad seeds, and then confidently plant the good ones. If you’re not planning on planting them right away, just dry them off before storing them again until you are ready.
The Germination Test
This is the preferred method of testing seed viability for most experienced gardeners, as it gives you a good idea of how likely you are to get good seedlings from your old seeds.
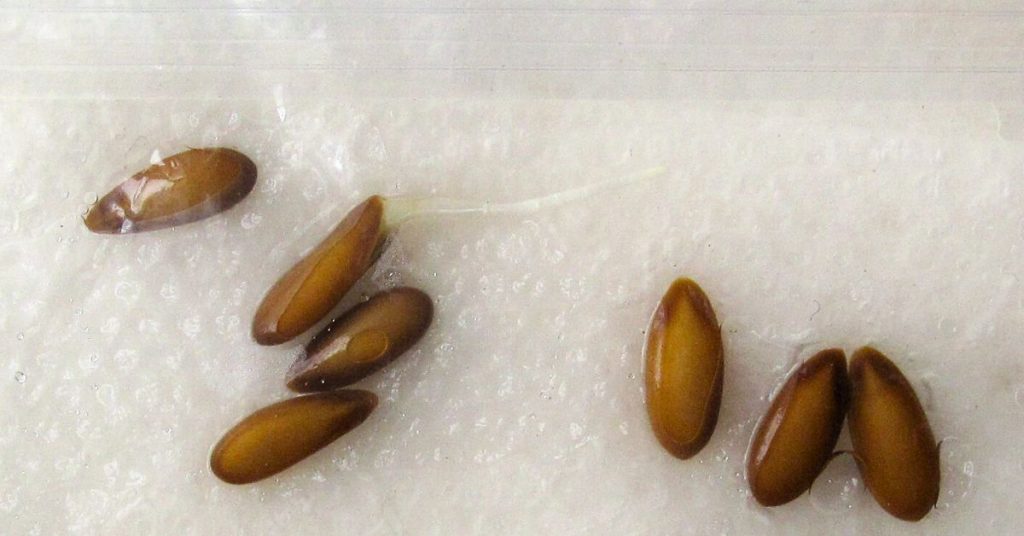
It’s pretty simple. Place 10 or more seeds on one side of a slightly damp paper towel, and fold the rest of the towel over the seeds. You can then place the towel in a clear plastic bag and seal it, or put it on a plate and cover it with plastic wrap, depending on how many different types of seeds you’re working with.
Place the wrapped seeds in a warm area (preferably 70 degrees or warmer). On top of the fridge or on a warm windowsill are great spots. Check them every few days to see if any have sprouted. After about 10 days, you should be able to see how many of your original 10 seeds have germinated. This will give you a good estimate of how many of the remaining seeds will sprout as well.
If only 50% of your test seeds sprout, then you’ll know to plant twice as many seeds to make sure you get enough good seedlings for your garden.
Once you’ve figured out which seeds are still good, you’re ready to get started planting! And for those that are past their prime, you’ll know it’s time to buy some new seeds.
Smart Gardener can help
Smart Gardener helps you every step of the way, by creating a personalized garden plan just for you, giving you detailed guidance for planting and tending your garden, and tracking your progress all season long.