Tag: tips
-
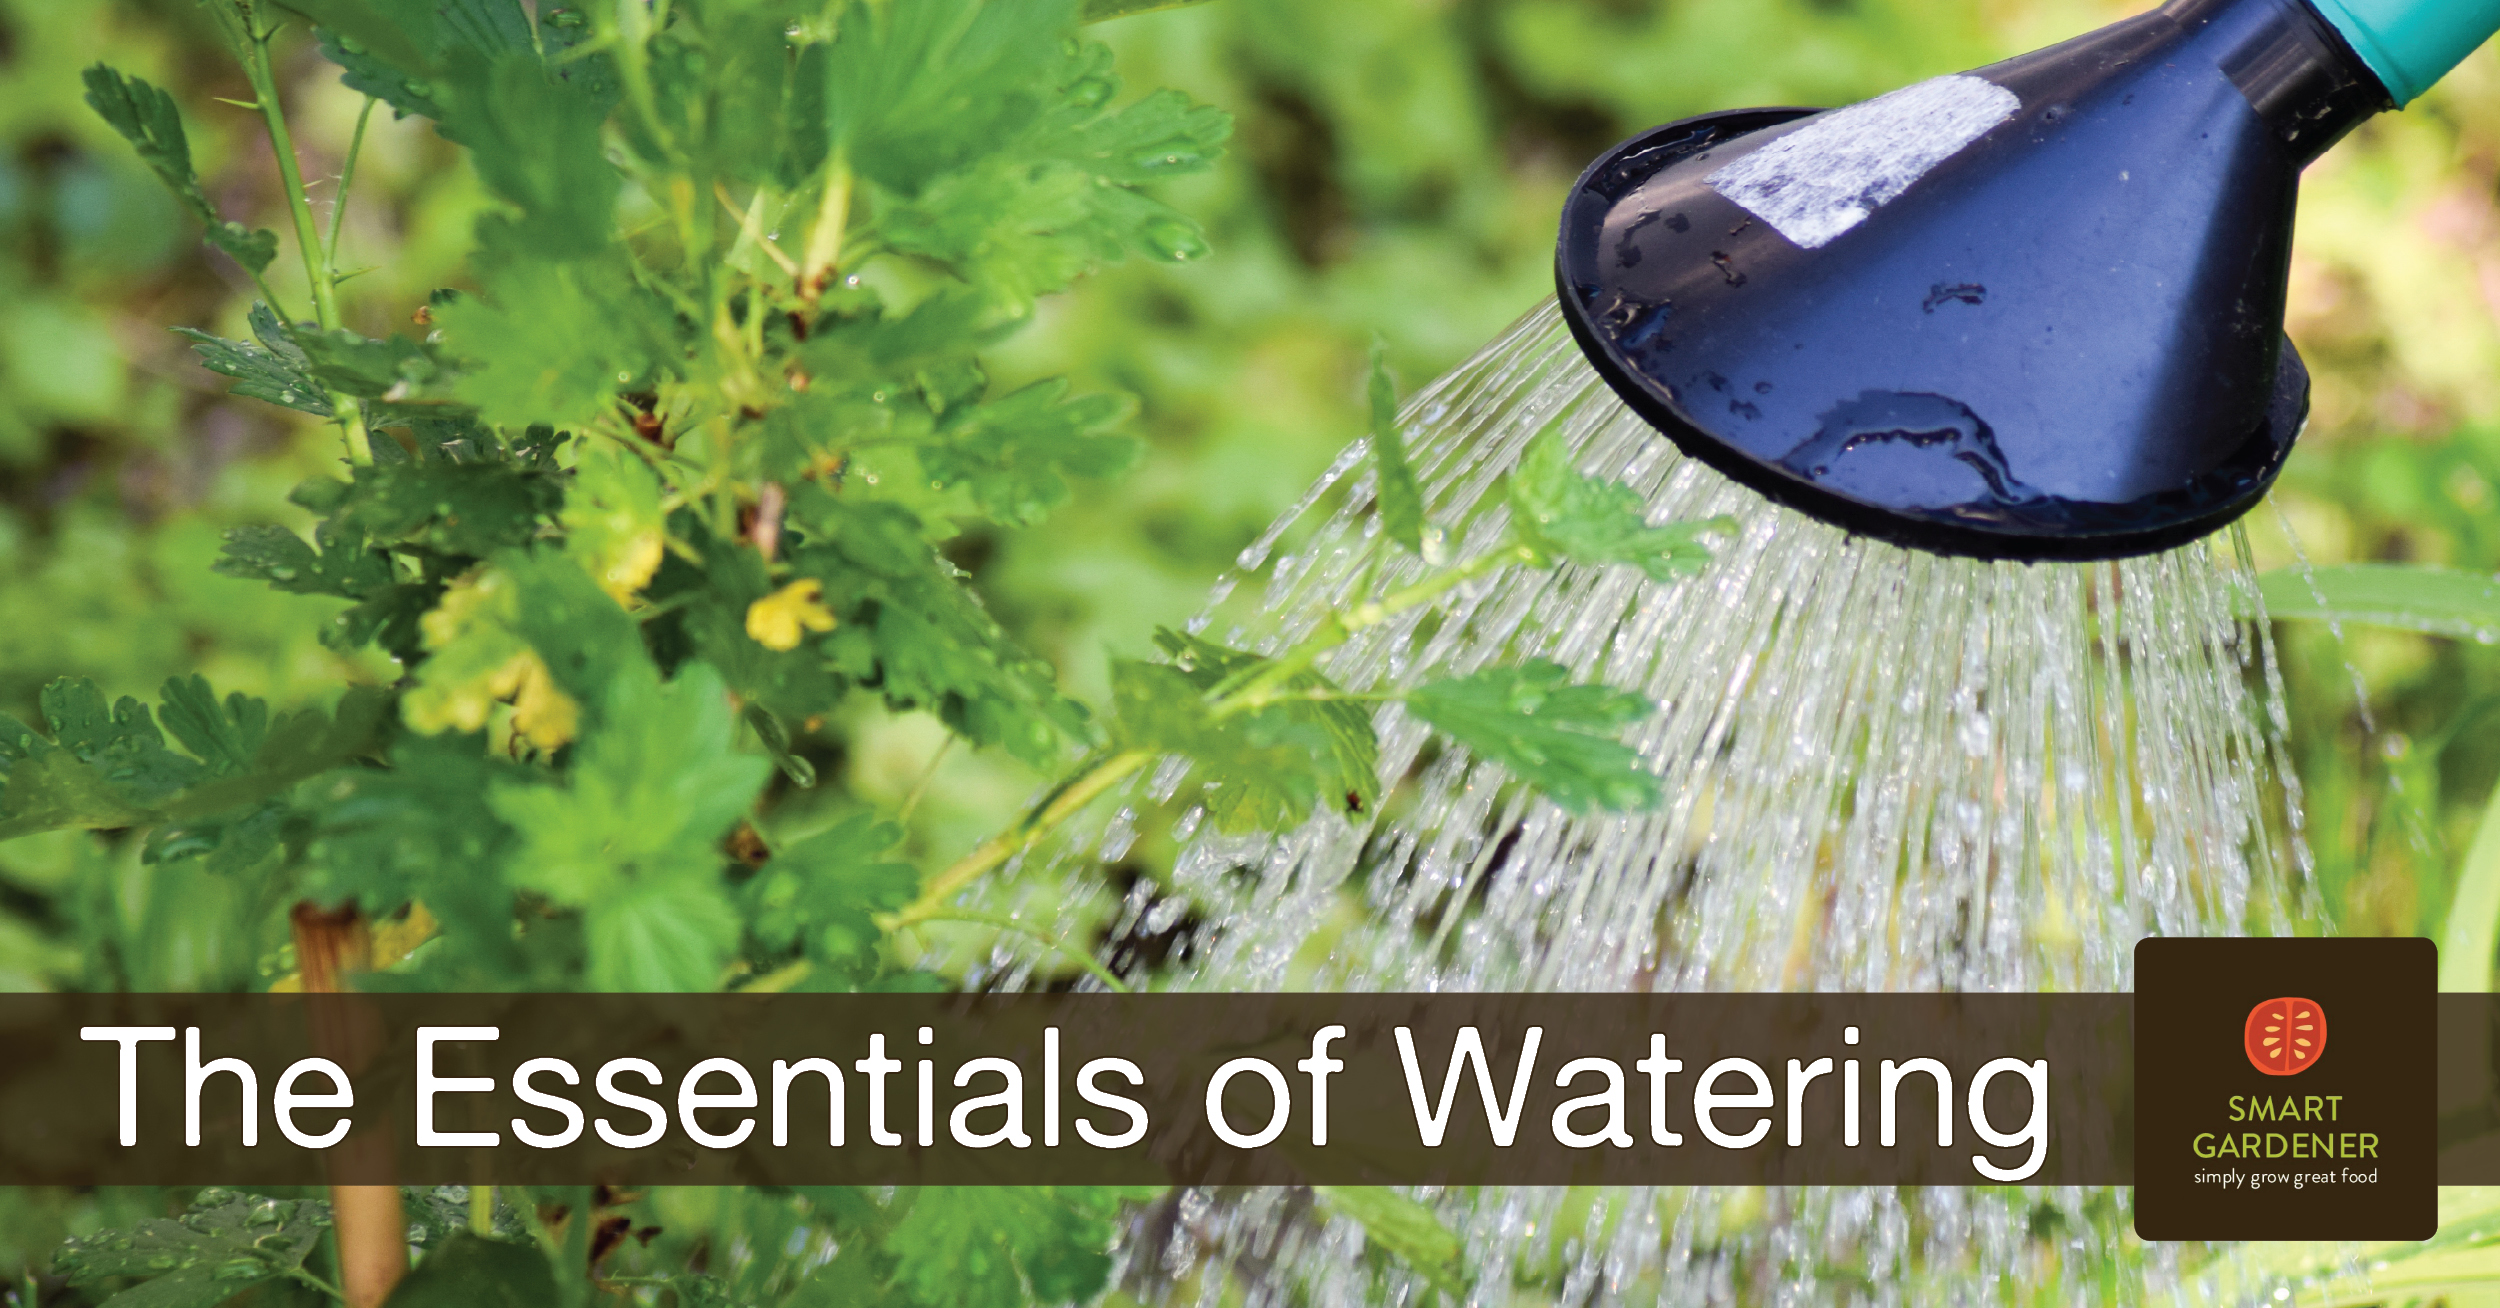
The best way to water your vegetable garden
Looking for the best way to water your vegetable garden? Climates may differ, but the essentials of how to properly water a garden are the same everywhere. There are four key things to keep in mind to keep your garden thriving all summer long.
-
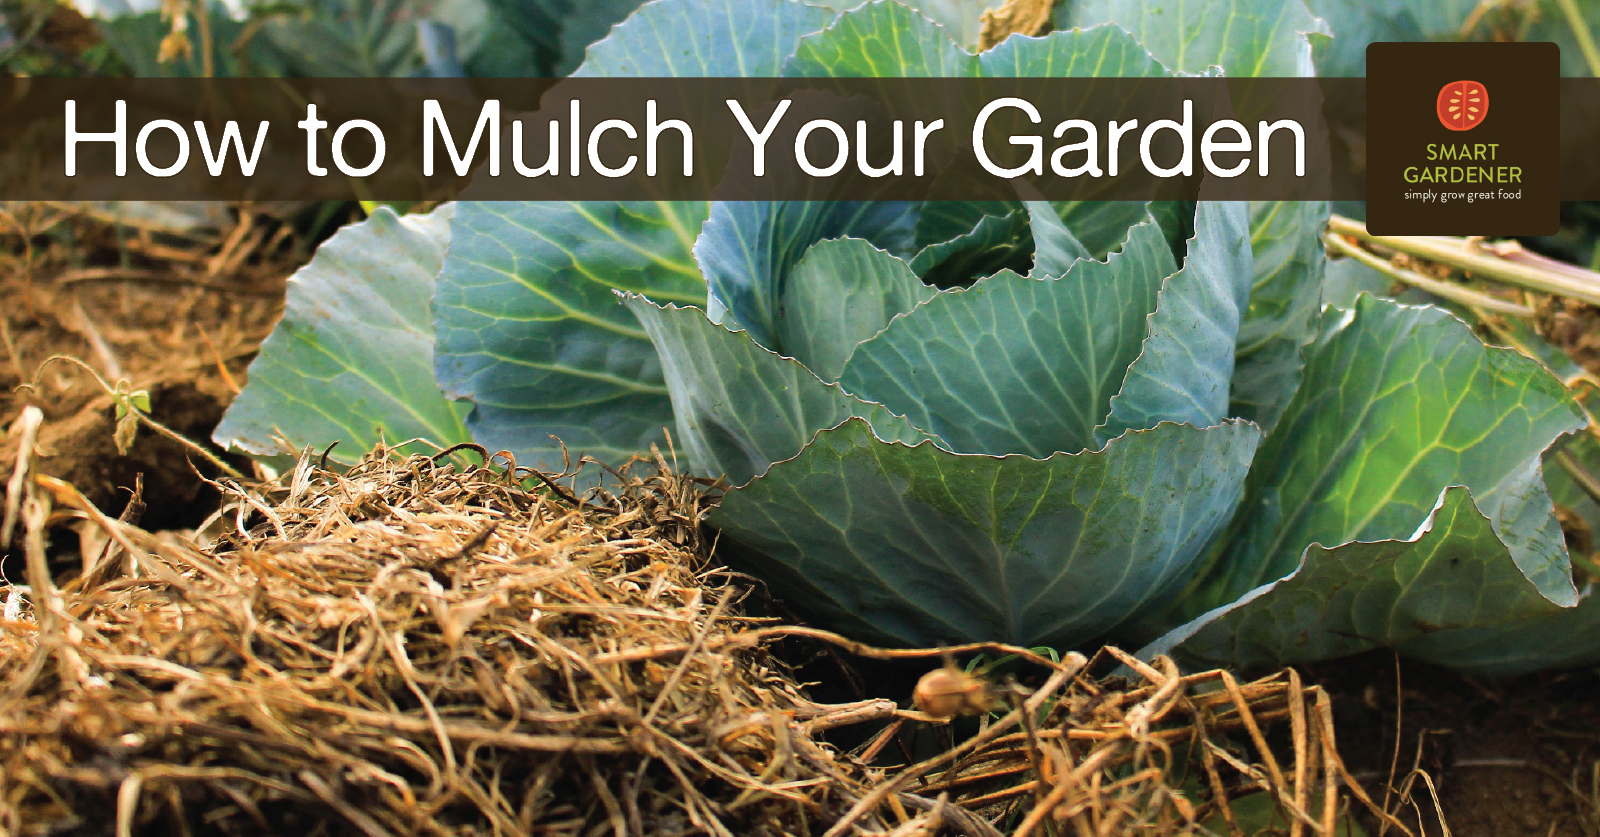
How to apply mulch to a vegetable garden
Mulch is an indispensable part of the vegetable garden, with a multitude of benefits. We’ve got tips to help you know how much to add and when to add it.
-
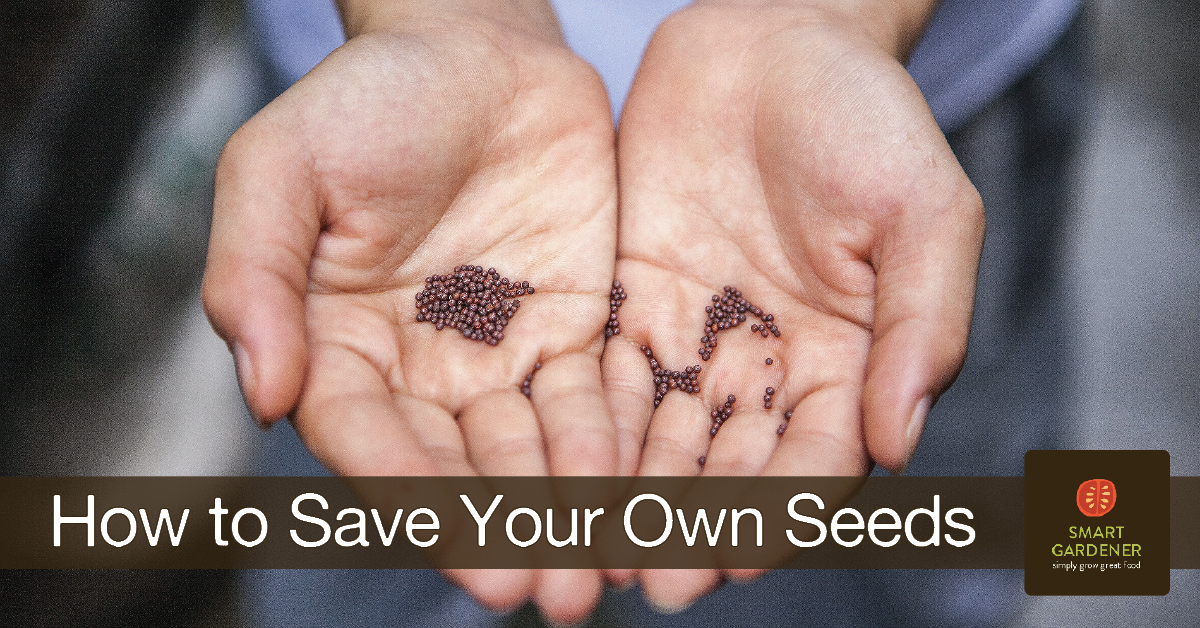
Saving Your Own Seeds: Getting Something for Nothing
Whoever came up with the phrase “there is no such thing as a free lunch” didn’t know anything about vegetable gardening or saving your own seeds.
-
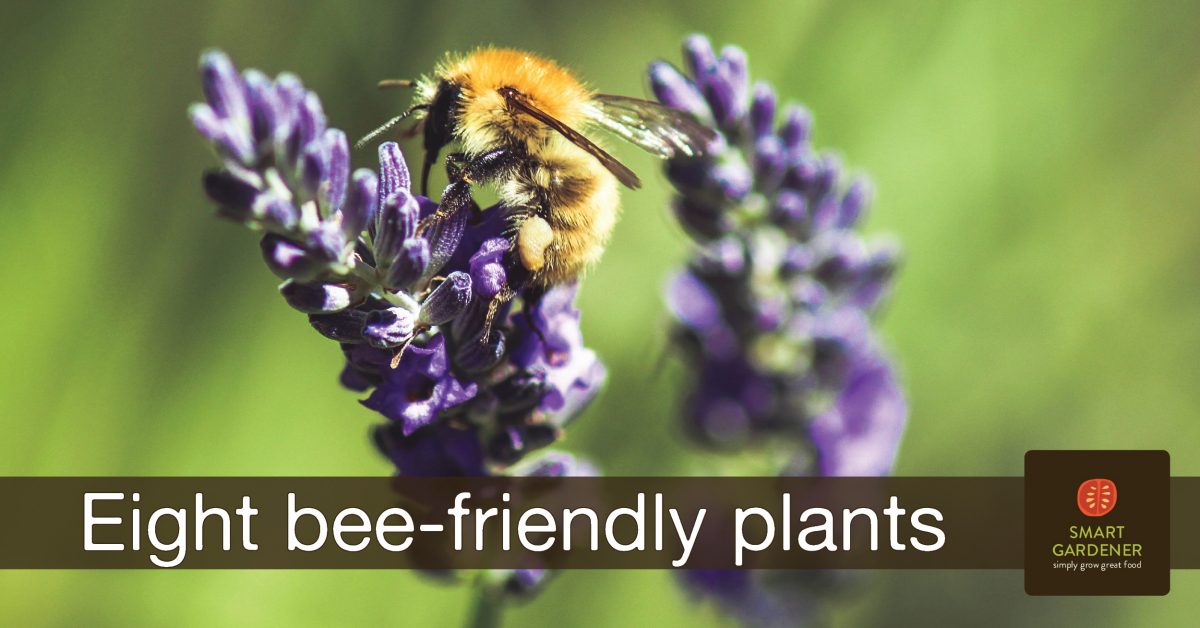
Eight bee-friendly plants for your garden
Did you know there are between 25,000 and 30,000 species of bees? May 20th has been designated as World Bee Day to celebrate the importance of bees and other pollinators and to bring attention to the threats they face from loss of habitat, pesticides, and a changing climate. Bees and other pollinators are a critically important […]
-
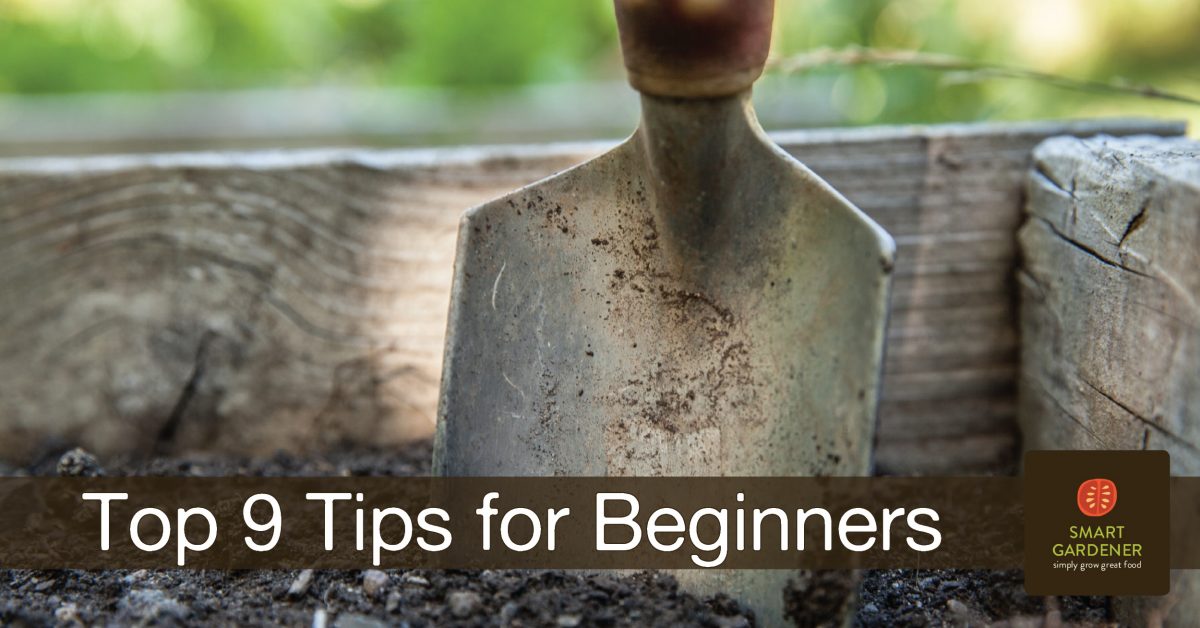
Top 9 tips for beginner gardeners
Every year we are inspired by all the new gardeners we meet setting out on the journey of growing their own food. Their excitement is so pure it’s inspirational to even hardened old-timers. In fact, one of the best things about gardening is how eager older gardeners (folks with several years’ worth of dirt under […]
-
The trick to a successful first garden: start out small
You might not think so from the countless words that have been written about it, but vegetable gardening is a pretty simple process. Plants are genetically programmed to grow (even our pampered crop plants) and all you have to do is give them the right things at the right times. You take seed, put it in […]
-
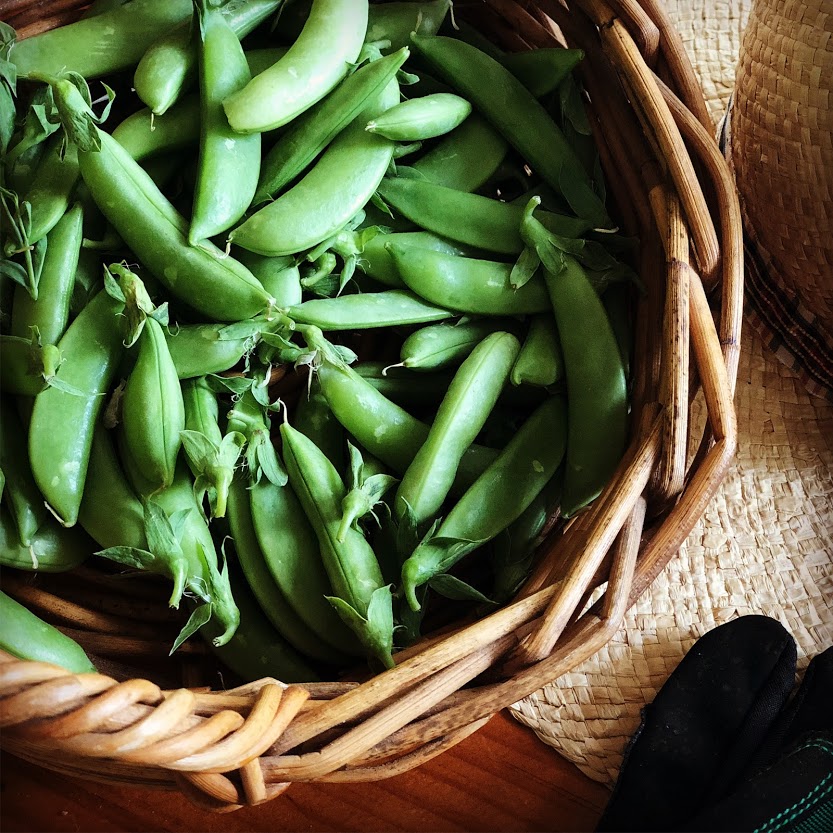
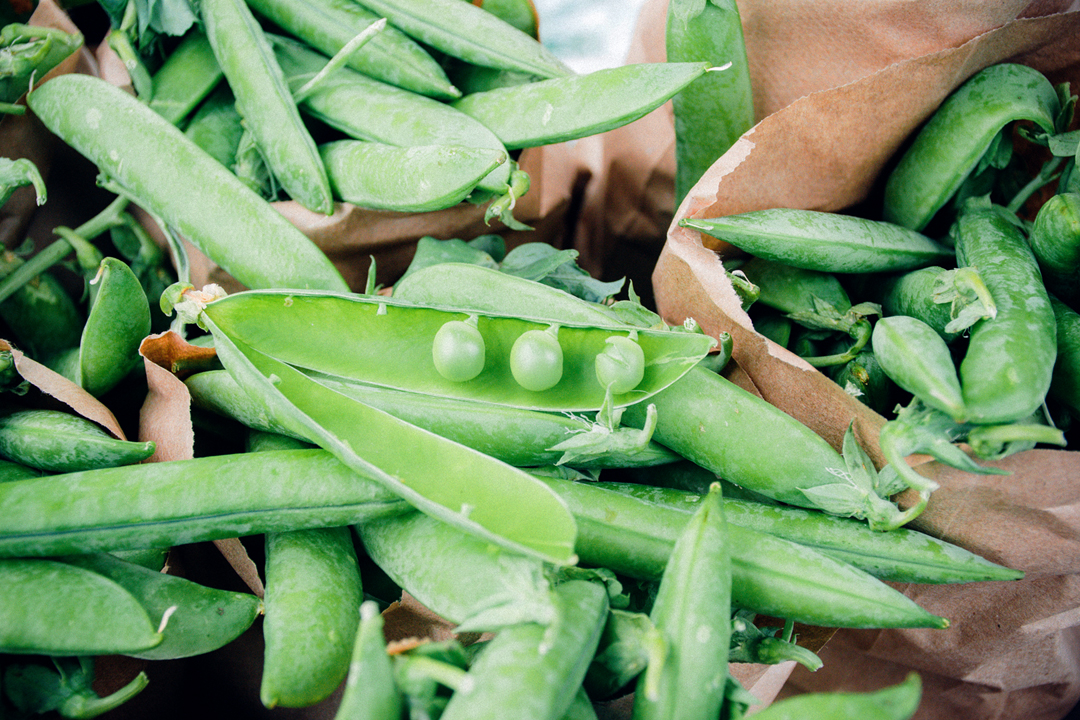
Sugar Snap Peas
Have you considered growing peas? Looking for something to feed your sweet tooth, straight from the garden? Look no further than the Sugar Snap pea. There’s a reason they’re called “garden candy.” The Sugar Snap is actually a relative newcomer to the garden (first introduced in 1979), but it is now established as one of […]
-
Peas for St. Patrick’s Day
In Ireland, St. Patrick’s Day is the traditional day to plant peas in a spring garden. In the United States the timing can vary somewhat from zone to zone, but March 17th still works well as a guide for starting peas for most areas. And what a perfect way to bring your garden a bit of […]
-
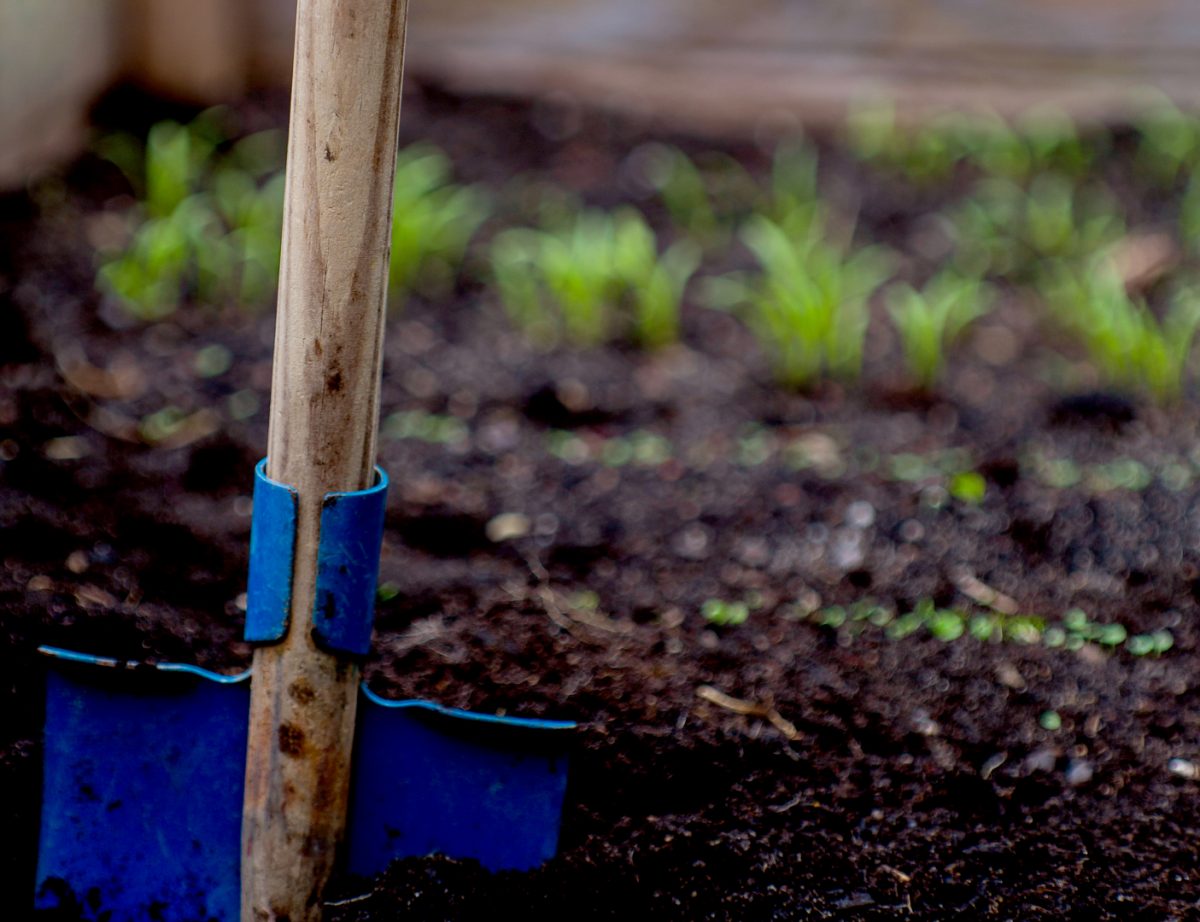
How do I prepare my garden for planting?
If you’re like me, when the first warm days of spring arrive, you can’t wait to get out into the garden and start planting. It means winter is finally over and the gardening season has begun. You’ve been looking at seed catalogs for months and have plenty of ideas you’re just waiting to try. However, […]
-
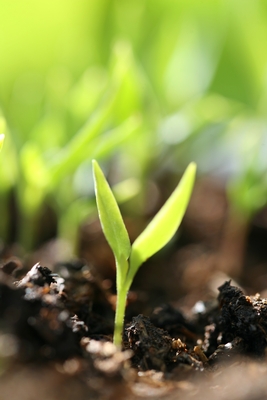
Don’t feed the birds
There are few things more frustrating than preparing, planting and pampering a bed of peas or beans and then discovering that the newly germinated seedlings have all been wiped out by birds. In most places birds are only a significant problem in spring when they seem to relish the abundant succulent green seedlings, but in […]