Tag: garden planning
-
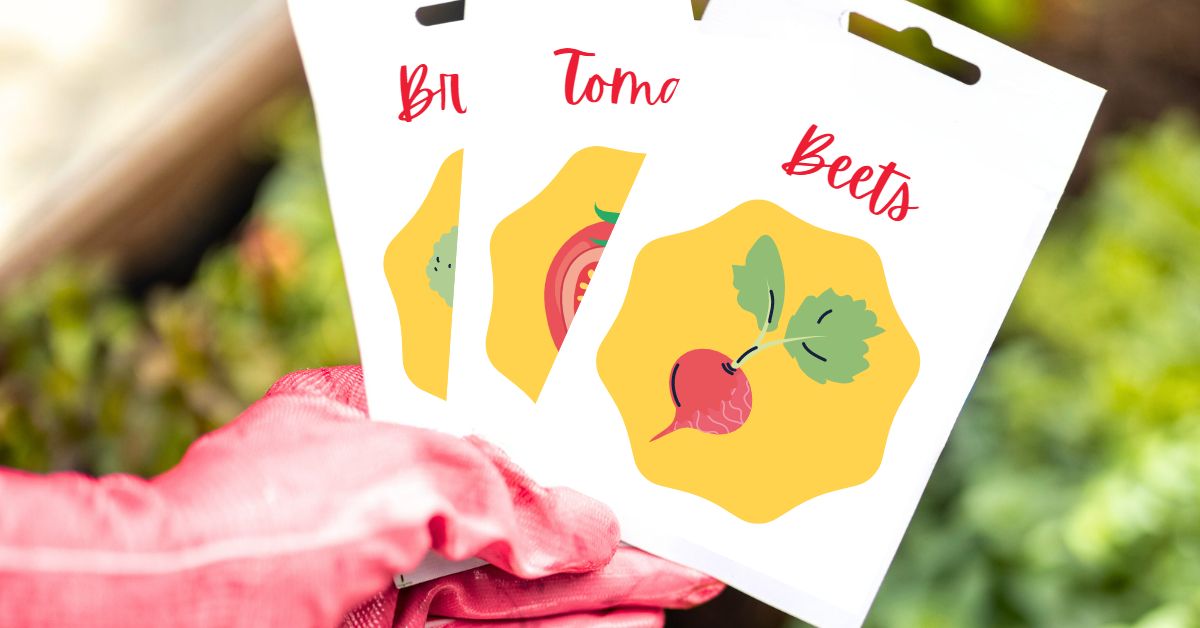
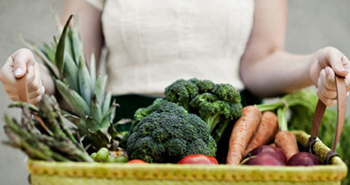
Smart Tips for Buying Seeds for Your Garden
Buying seeds is one of the most exciting parts of planning a new garden. It can also be one of the most confusing for new gardeners. Here are some tips to help you figure out what seeds to buy, when to buy them, and how many you’ll need. WHAT SEEDS TO BUY Often new gardeners […]
-
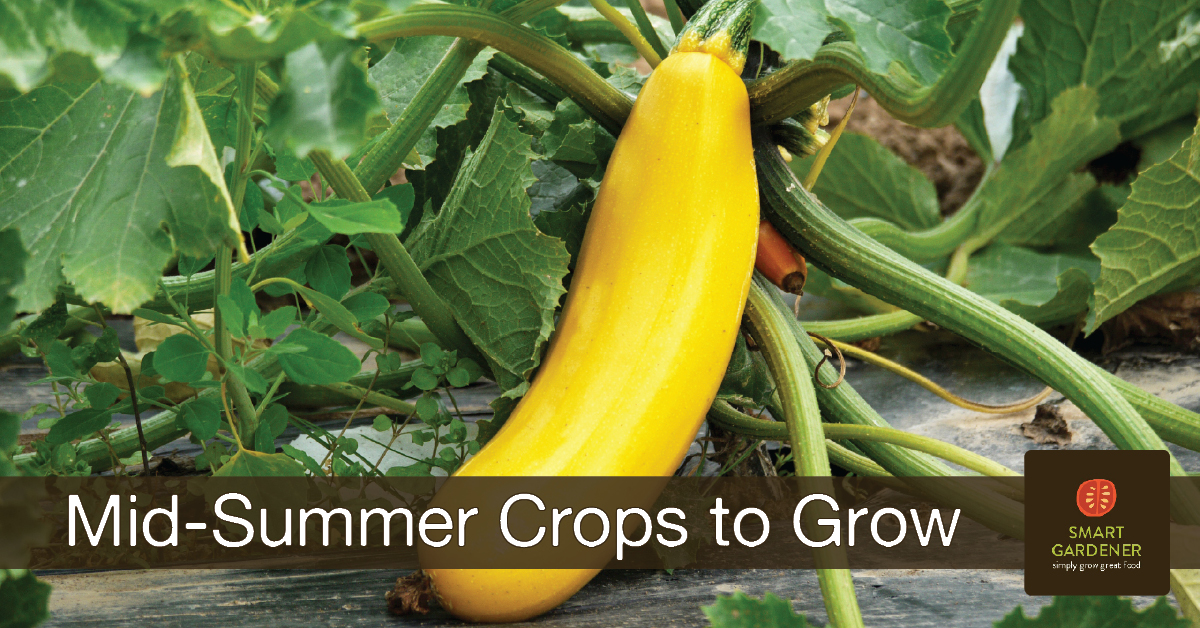
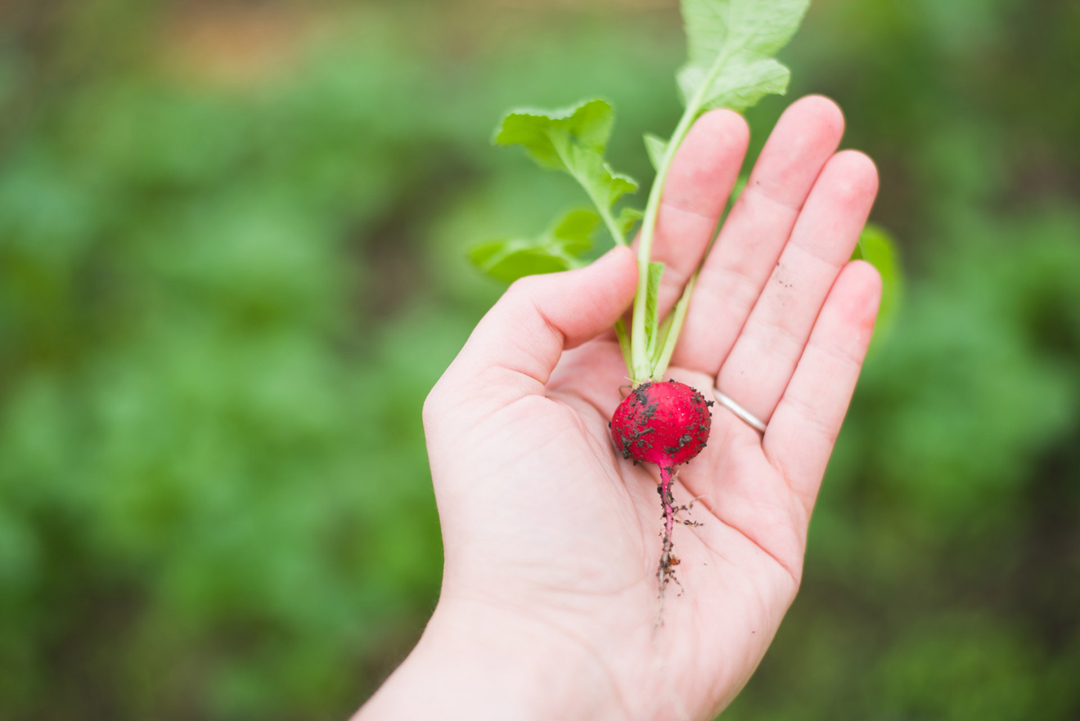
What Can I Grow Now?
What can I grow now? It’s not too late to plant a garden this summer. There are several vegetables you can plant today and harvest before the first frosts!
-
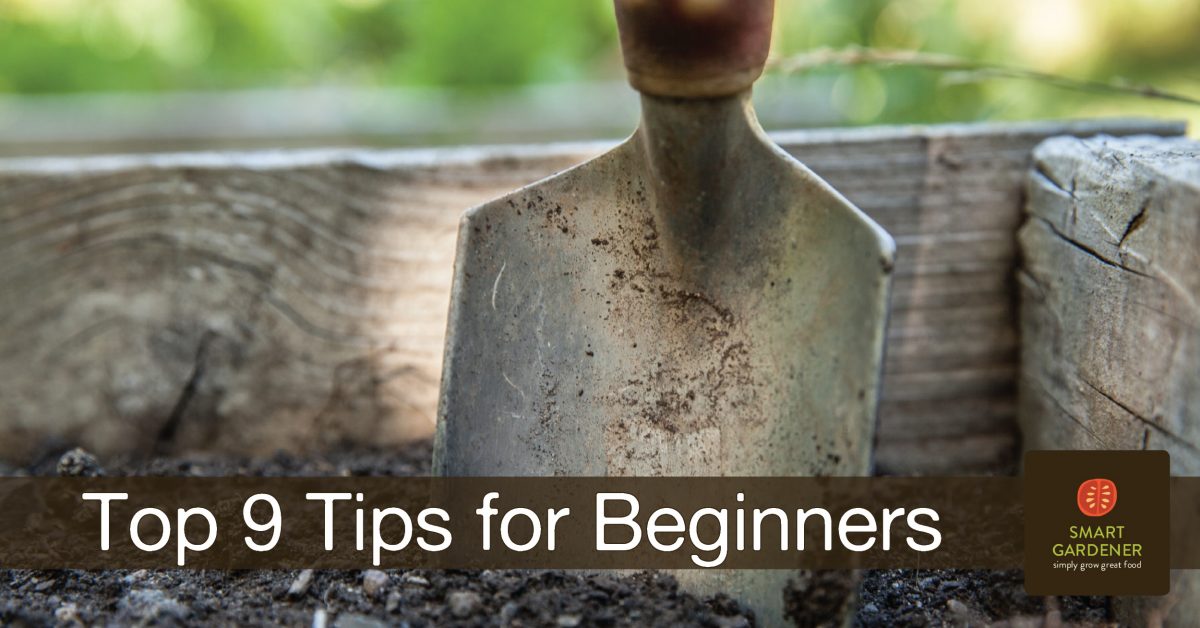
Top 9 tips for beginner gardeners
Every year we are inspired by all the new gardeners we meet setting out on the journey of growing their own food. Their excitement is so pure it’s inspirational to even hardened old-timers. In fact, one of the best things about gardening is how eager older gardeners (folks with several years’ worth of dirt under […]
-
The trick to a successful first garden: start out small
You might not think so from the countless words that have been written about it, but vegetable gardening is a pretty simple process. Plants are genetically programmed to grow (even our pampered crop plants) and all you have to do is give them the right things at the right times. You take seed, put it in […]
-
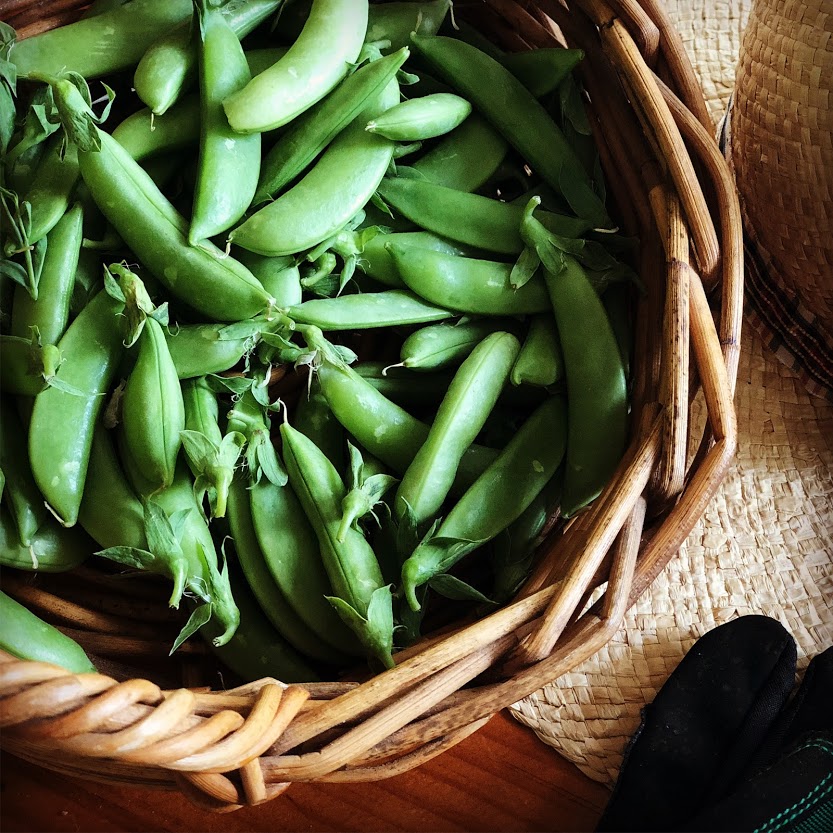
Sugar Snap Peas
Have you considered growing peas? Looking for something to feed your sweet tooth, straight from the garden? Look no further than the Sugar Snap pea. There’s a reason they’re called “garden candy.” The Sugar Snap is actually a relative newcomer to the garden (first introduced in 1979), but it is now established as one of […]
-
Making your own fertilizer mix
Making your own fertilizer mix has several advantages over buying a pre-packaged mix. That’s why it’s a basic component of Smart Gardener’s approach to organic gardening. Here’s a couple reasons why we like it so much: 1) Simplicity. It makes the whole question of “Which fertilizer do I use?” much simpler. It reduces the amount […]
-
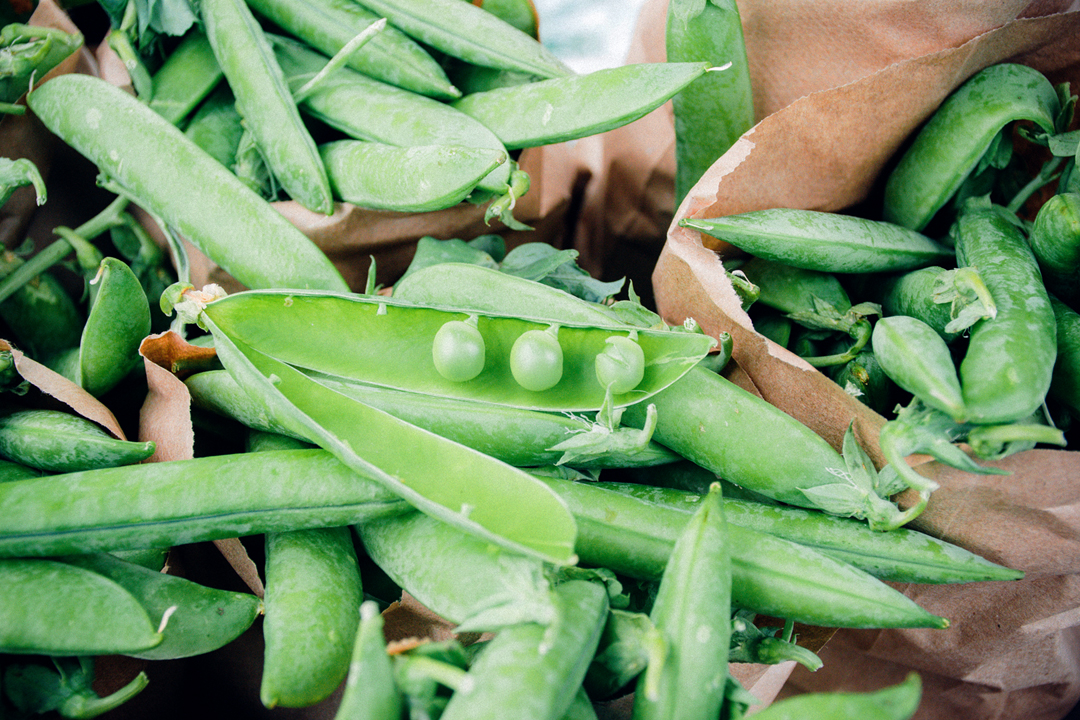
Peas for St. Patrick’s Day
In Ireland, St. Patrick’s Day is the traditional day to plant peas in a spring garden. In the United States the timing can vary somewhat from zone to zone, but March 17th still works well as a guide for starting peas for most areas. And what a perfect way to bring your garden a bit of […]
-
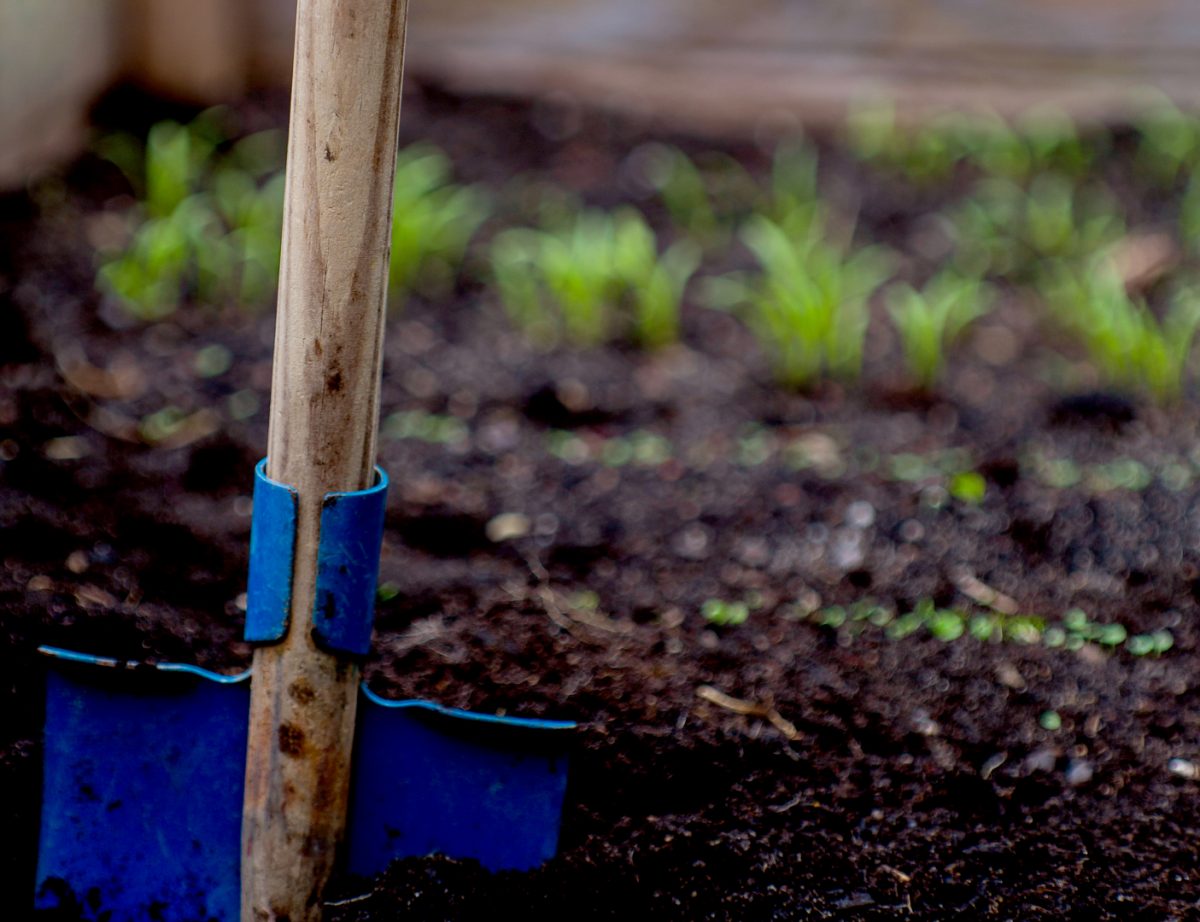
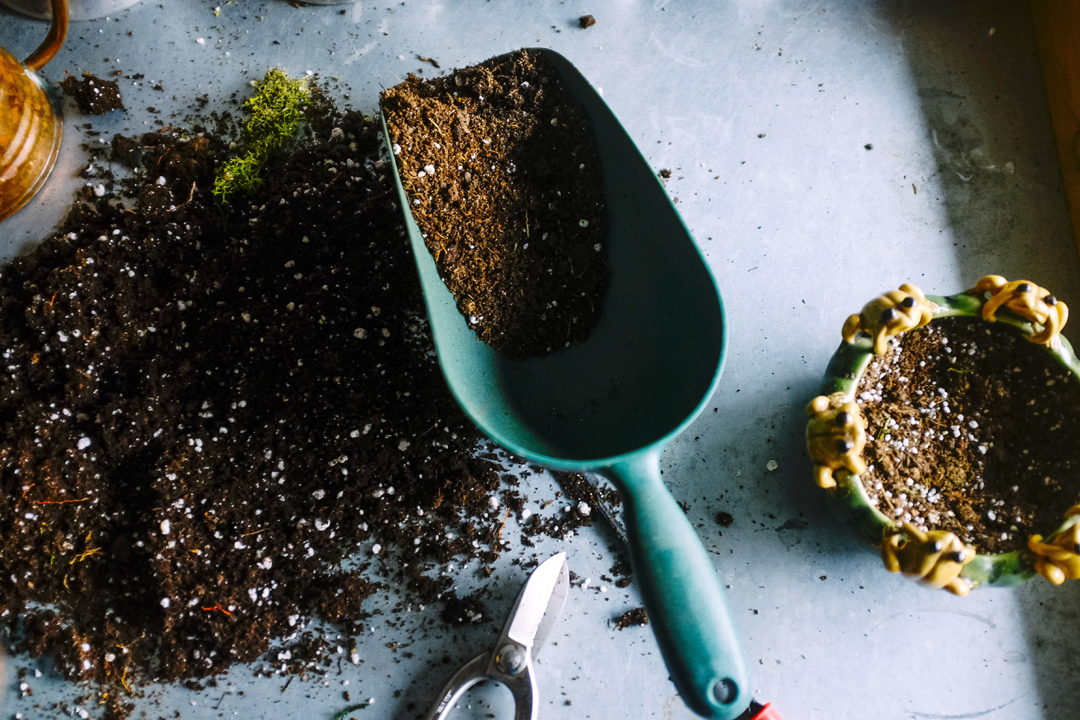
How do I prepare my garden for planting?
If you’re like me, when the first warm days of spring arrive, you can’t wait to get out into the garden and start planting. It means winter is finally over and the gardening season has begun. You’ve been looking at seed catalogs for months and have plenty of ideas you’re just waiting to try. However, […]
-
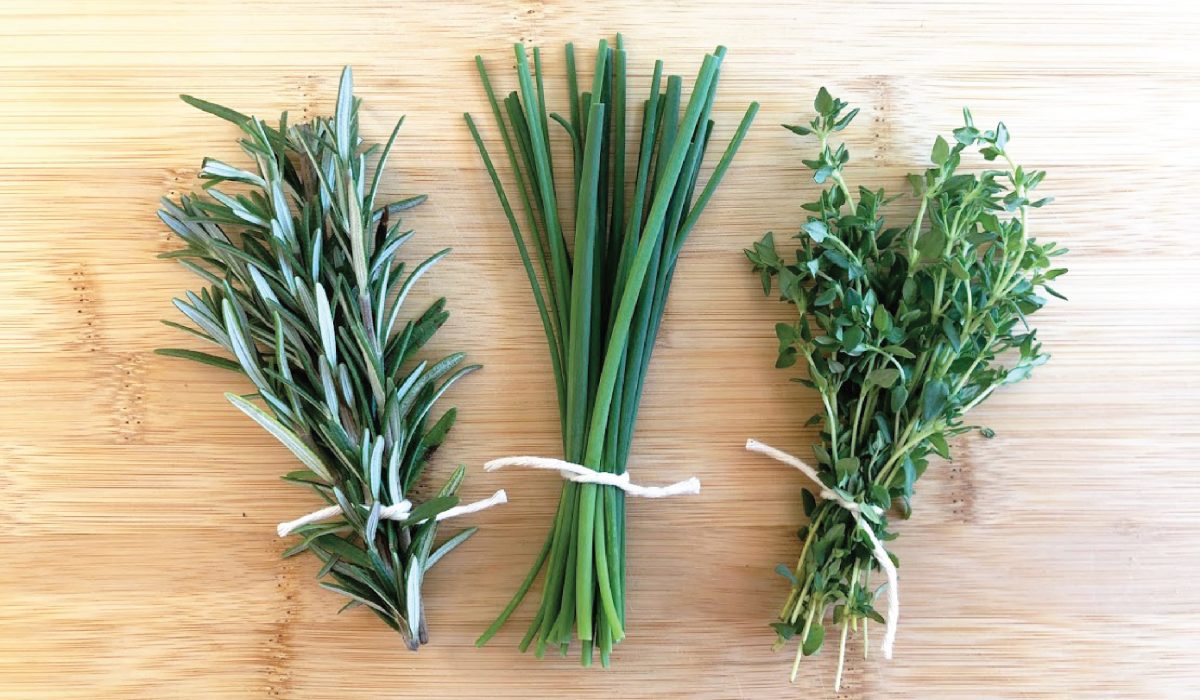
Five herbs perfect for indoor growing
Spring has yet to arrive in many parts of the country, and we’re pretty sure a lot of you gardeners are getting a bit of cabin fever. One cure for the late-winter gardening blues is to start an indoor herb garden. We’ve come up with a list of some of our favorite herbs to grow […]
-

Spring Vegetables
So you’ve got your soil ready, it’s finally warm enough, and now you’re thinking about what to plant. It’s tempting to start planting all those great seeds you bought over the winter, but it’s best to take a moment and consider what weather conditions each plant needs to germinate and thrive. Each plant has an […]